

 Click HERE to buy the backdrop fabric. It can be used as is, or very easily turned into a felt board. See below for instructions.
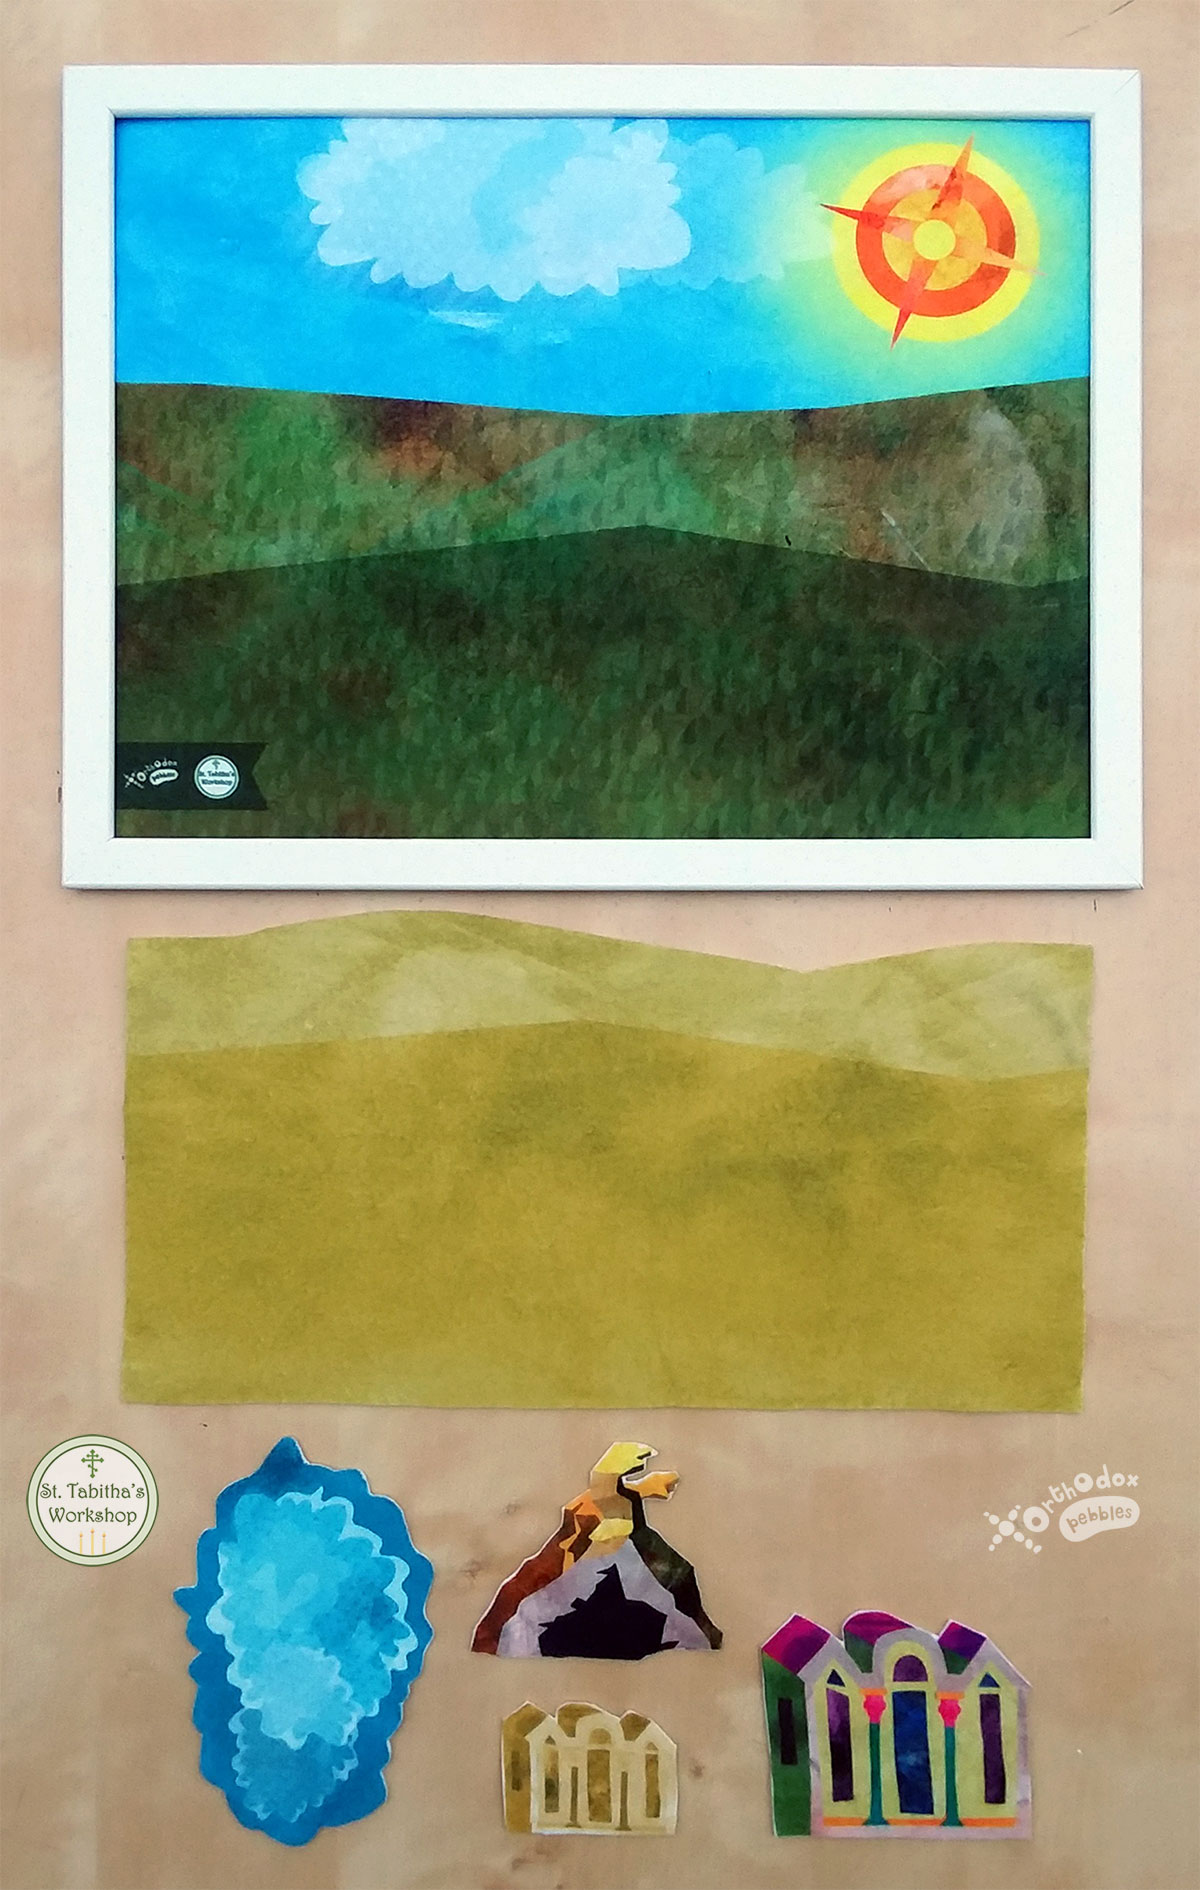
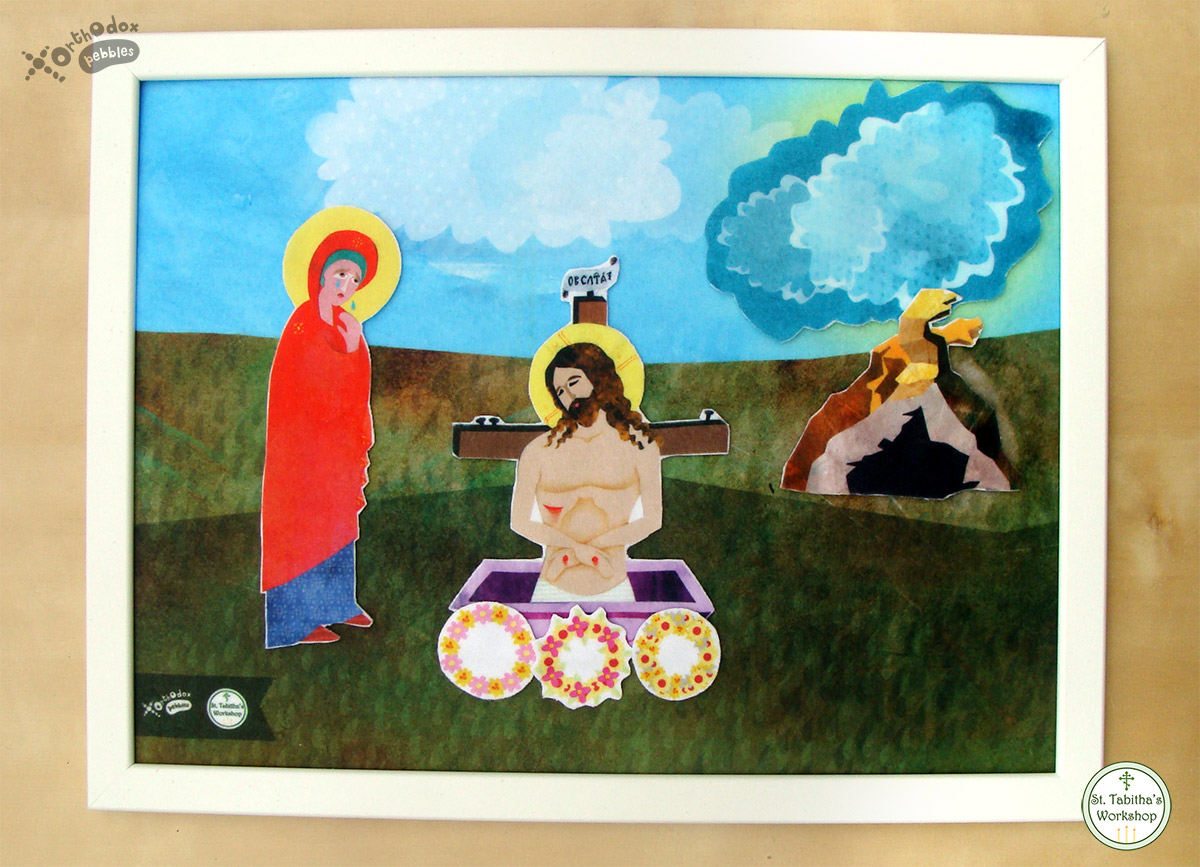
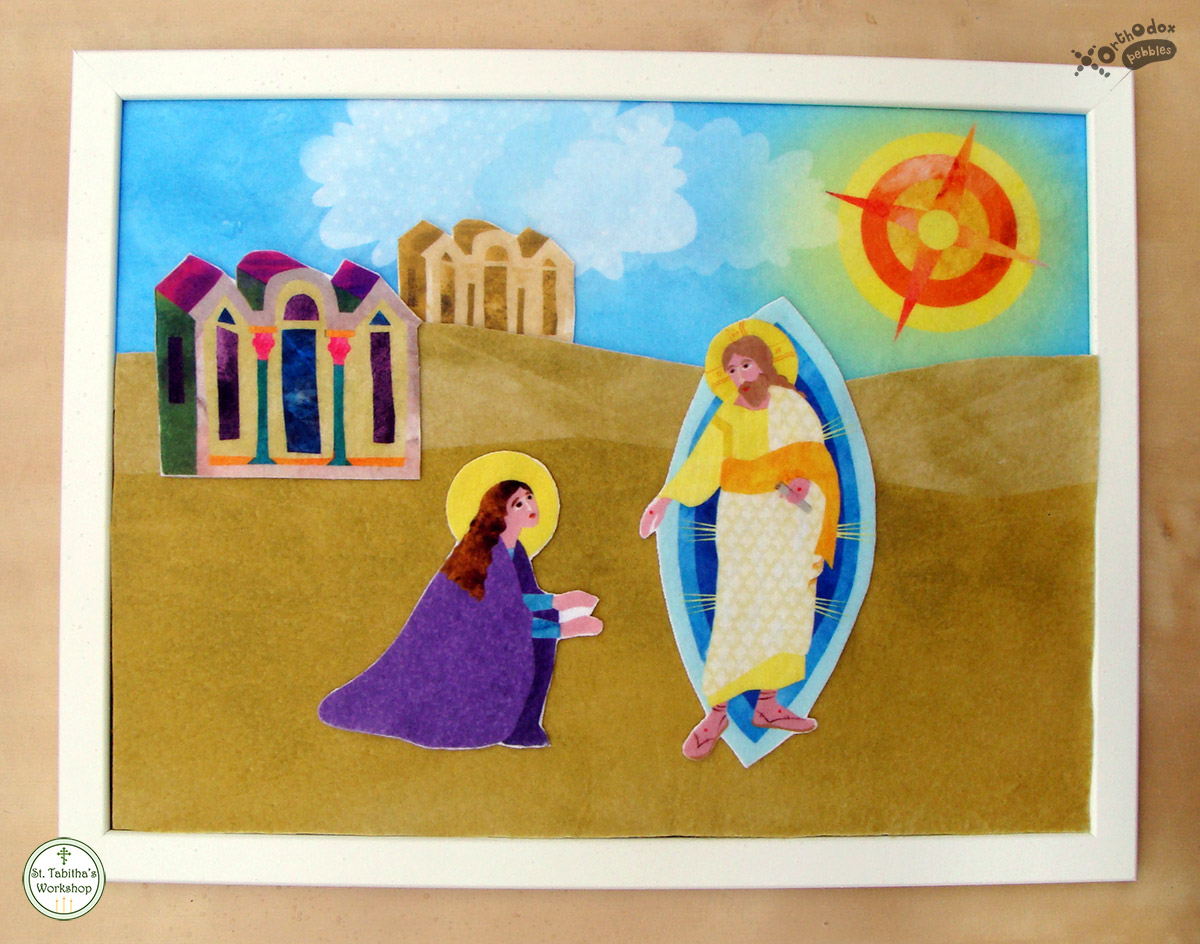
This product is a backdrop scene set made out of soft fleece. It has been designed to complement our act-out story fabric educational sets.
It consists of:
1. A large fabric rectangle showing a grassy field on a sunny day.
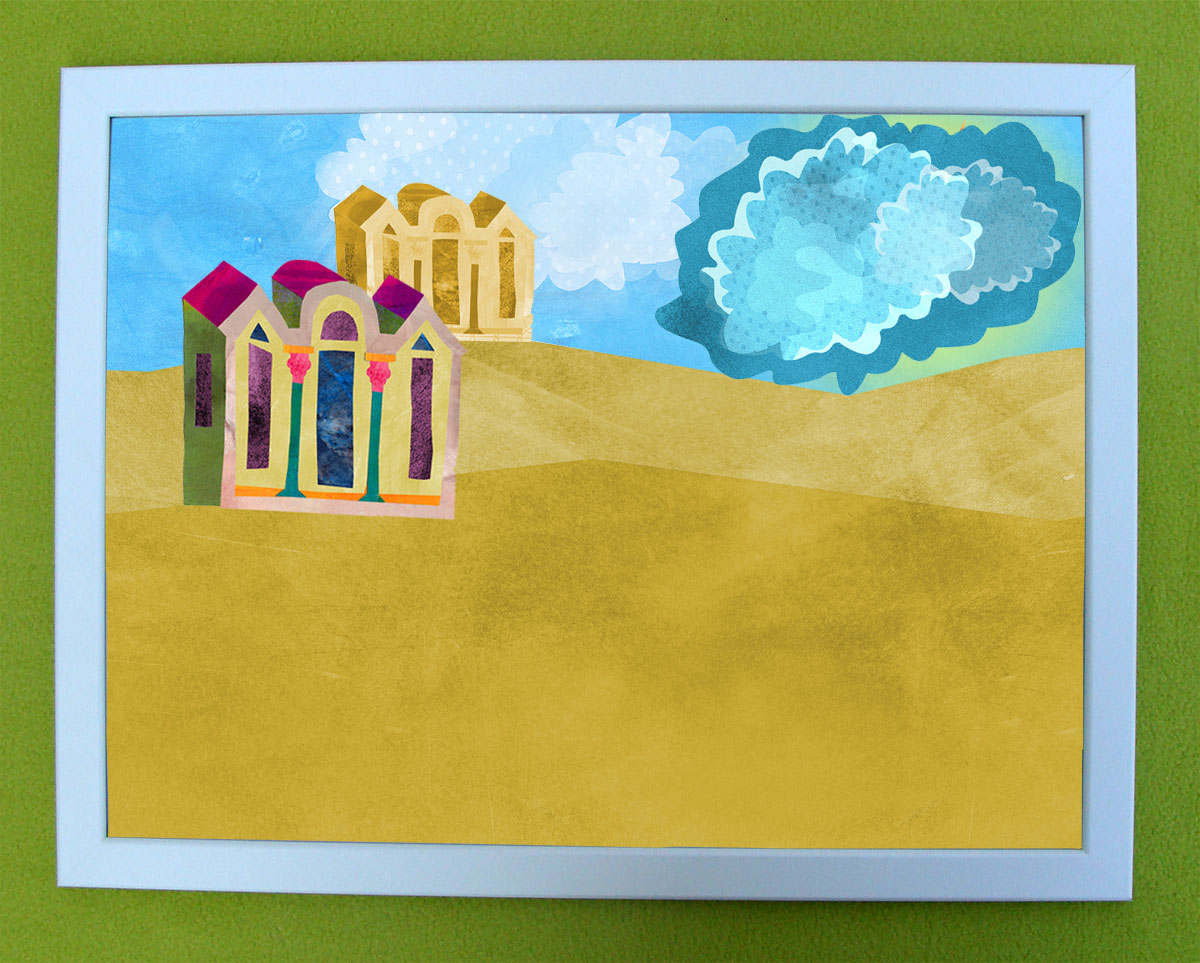
2. 5 additional fabric objects, which can be placed on the fabric rectangle to create different scenes.
You can use the fabric as is, or you can very easily turn it into a felt board. Scroll down for shopping details and for a complete tutorial.


Please note:
Our learning sets are educational resources to help teach Orthodox Christian children about our Faith. Please be mindful when using, washing or storing them, since they depict holy objects and scenes inspired by icons, which in real life are treated with reverence. Not suitable for children under three years old.
MAKE-YOUR-OWN FELT BOARD
Here we will demonstrate a very quick and easy way to turn our fabric into a felt board. It requires everyday materials and takes about fifteen minutes to complete.
You will need
- Our fabric
- A picture frame to fit a picture with dimensions 12″ x 16″ – We used the 12×16″ FISKBO frame from IKEA, a cheap and good-looking solution that can be ordered online.
- Scotch tape
- Scissors
STEP 1
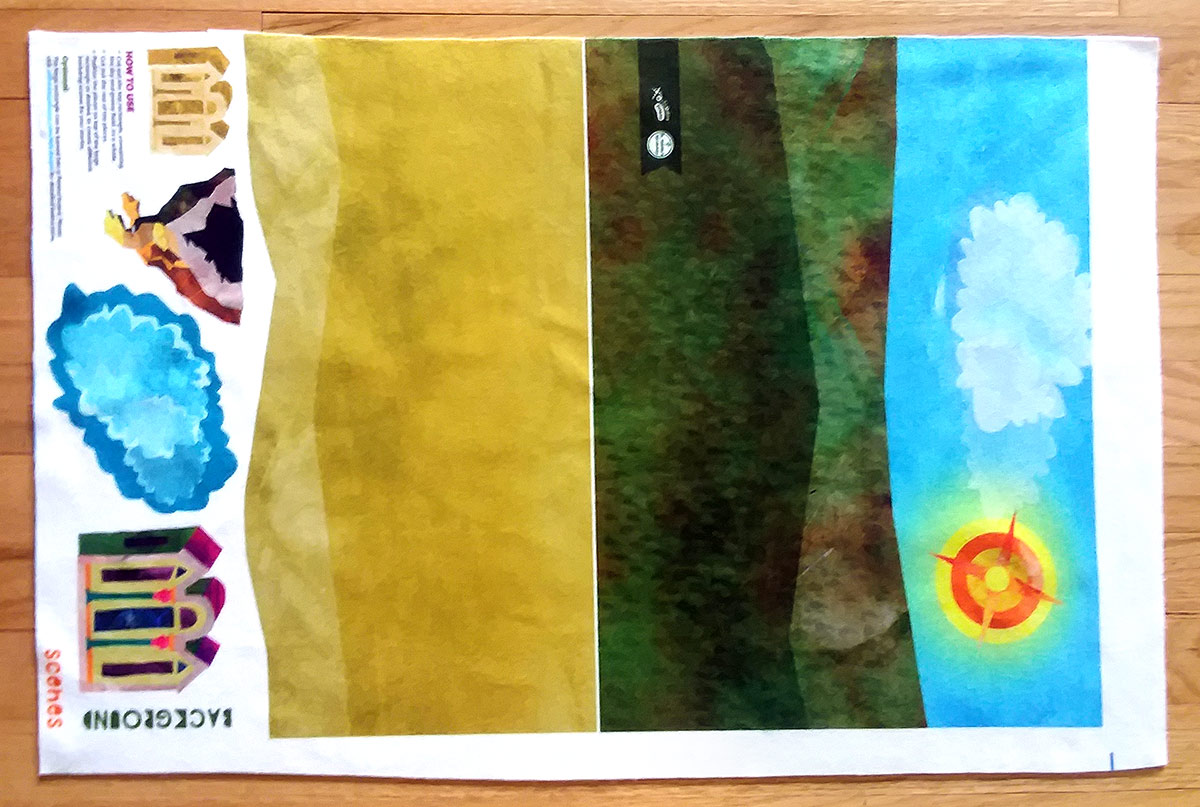
For one backdrop set, you will need to order a “fat quarter” of fabric.
A yard of fabric contains four backdrop sets. So, if you need a number of backdrop sets, change the amount to yard and indicate how many yards you wish to order – the display will change to show what will be printed.
We have designed this toy for fleece fabric, as it is sturdy, lays flat, doesn’t fray, is soft and cuddly, and the play pieces stick very well onto it. Please make sure fleece is chosen – if you choose another type of fabric the design may not be printed properly.…
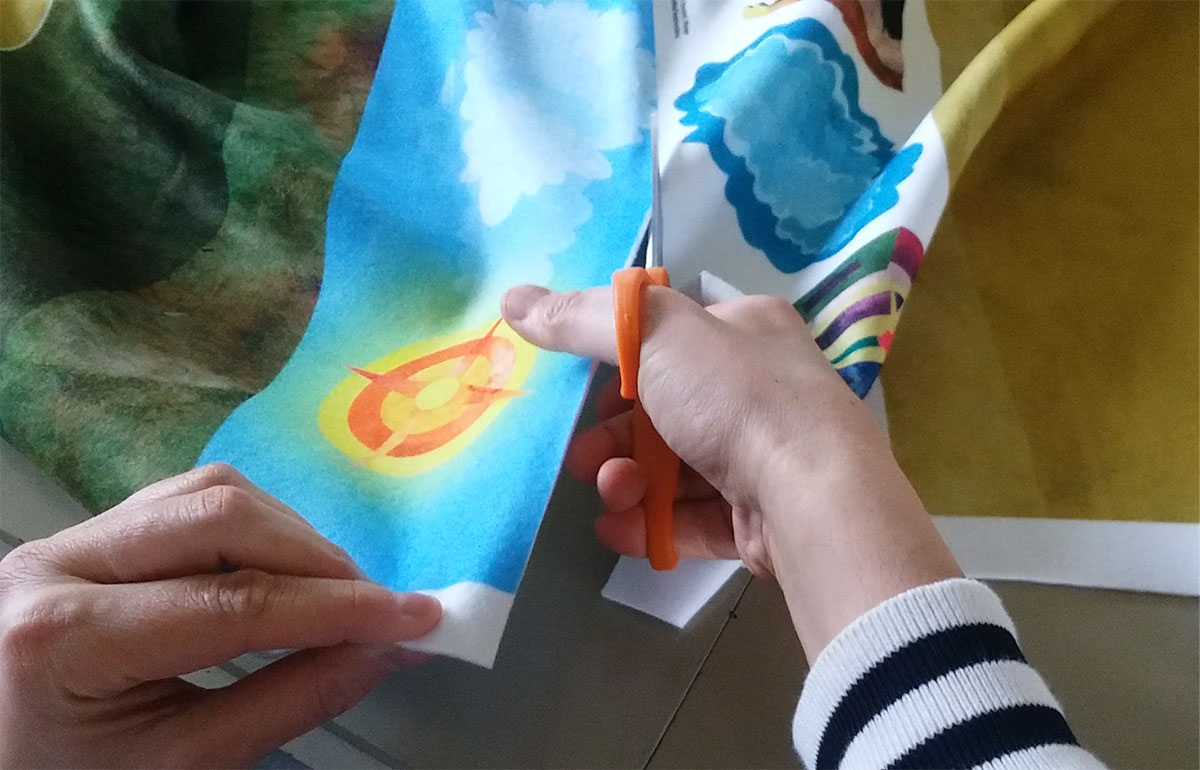
STEP 2
Cut out all the pieces.
STEP 3
Remove all the contents from the frame. Keep only the backing cardboard and discard the rest.

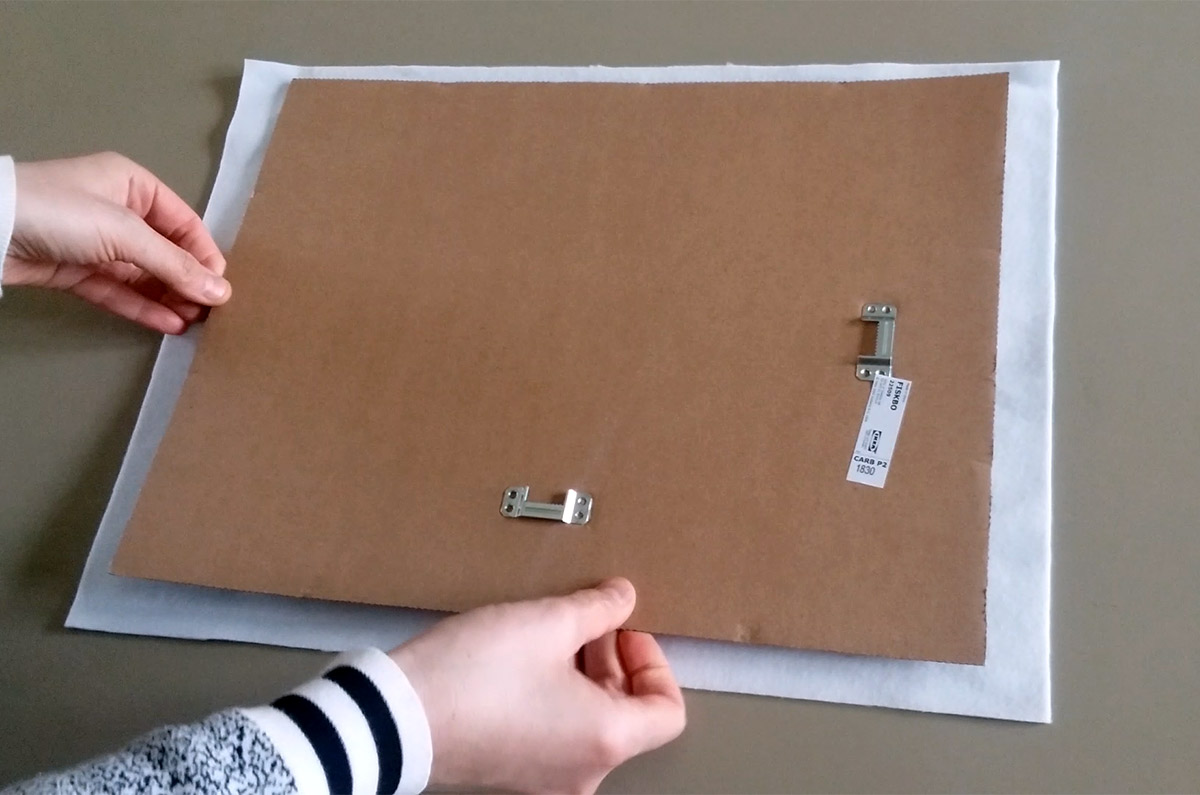
STEP 4
Turn the large rectangle face down and position the backing cardboard over it.
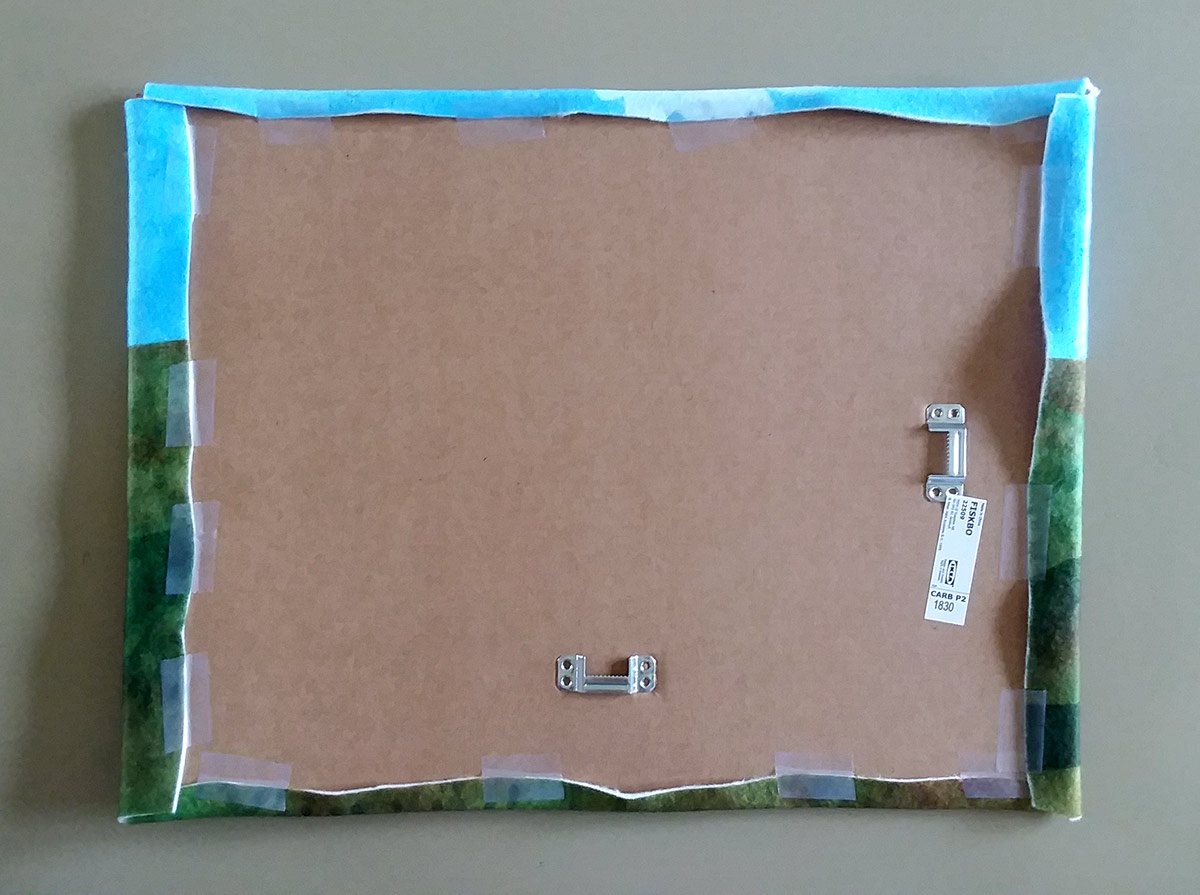
STEP 5
Snip off a rectangle from each corner of the fabric.

STEP 6
Fold the fabric over the cardboard and tape in place.
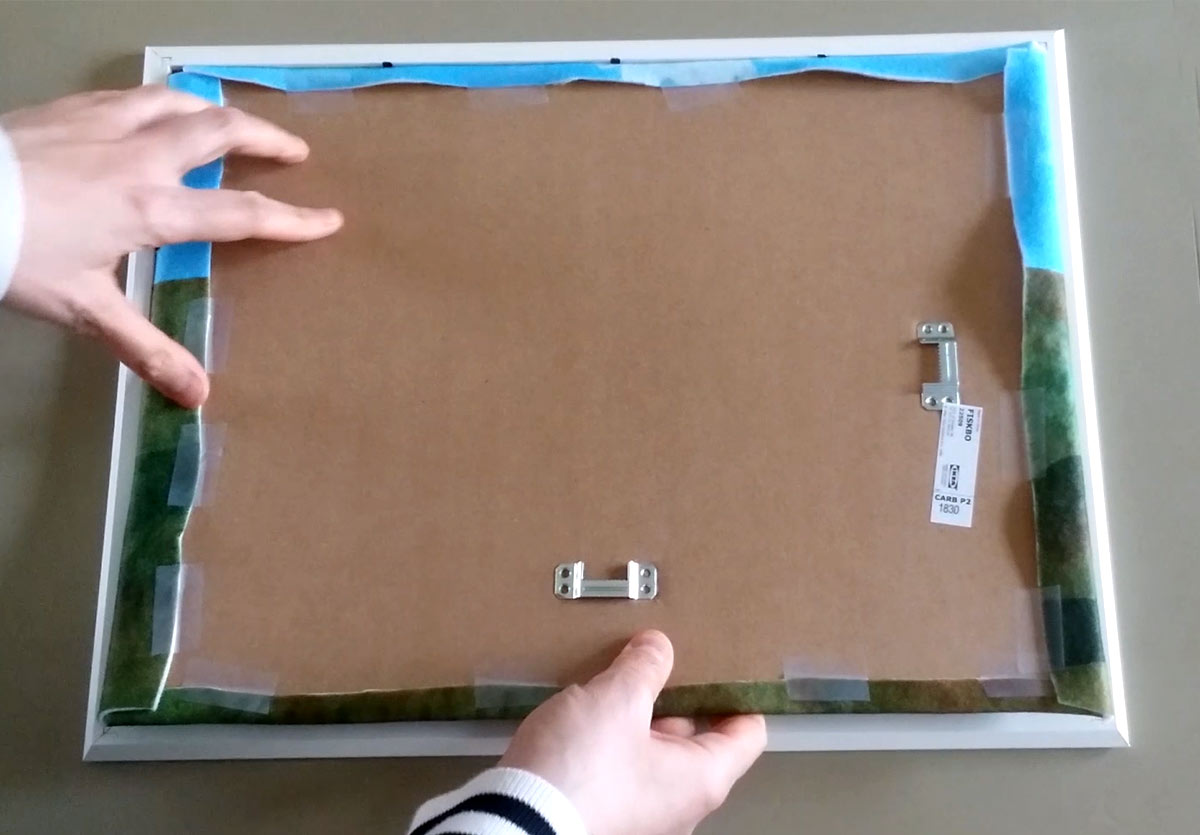
STEP 7
Place the fabric-covered cardboard back inside the frame and secure in place.

Ready to LEARN!
Please note: Except from the fabric product itself, we do not receive any financial compensation for the external links that we mention in our posts. We are only including them to share our experience and to make it easier for the reader, if interested, to find the products we used.
