

THANK YOU for purchasing one of our DIY Fabric Learning Sets! We hope the children in your class or your family will spend many productive hours working with it and learning about our Faith.
Making the learning set is a very simple and easy DIY project. It mostly involves cutting the pieces, and step-by-step instructions are printed on the fabric. If you don’t want to sew, you can just use glue to assemble the storage pocket – or you can skip making the pocket altogether if you prefer.
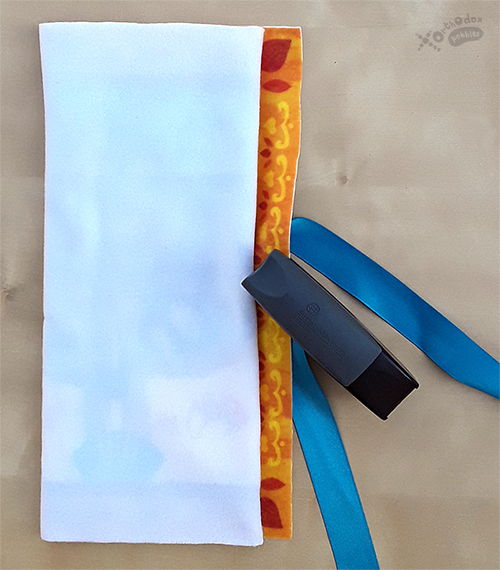
Below we are demonstrating how to put the pocket together using glue.
UPDATE 2024
Felt instead of fleece!

In 2024, we were able to change the material of these sets to better match our original idea, which was to create a teaching resource similar to the felt sets of our youth. The fabric sets are now made out of FELT instead of fleece. This has some advantages, but may also need some modifications in the way the set is prepared and used.
Felt is stiffer, which allows for much sturdier pieces. This is advantageous, as they can be moved around easily without losing their shape. It also helps with cutting: you can cut out the pieces with great precision without the need for fabric scissors, as was the case with fleece; any kind of sharp scissors works well.
On the downside, felt is a little less sticky. You can remedy this by scrubbing the front of the mat and the back of the pieces well, using a scouring pad (stainless steel works best, the one that looks like a bird’s nest). This will significantly increase the stickiness. However, felt will still be less sticky than what the fleece used to be. Working with the set horizontally on a flat surface works best. If you want to use it upright, it is best to place it at an angle so the pieces have a smaller chance to fall off.
Finally, you will receive the felt set as a roll of felt fabric. To flatten it, roll it a few times in the opposite direction, then iron it on the reverse side, using the setting for synthetics. Do the same if it loses its shape when stored for a long time.
We hope you will get to enjoy your fabric set for many years!
** Kindly note: The product in the tutorial photos is the fleece version of the sets. The felt set is stiffer and less fluffy. The colors and design are exactly the same. To see what the felt looks like, please visit our Pentecost set page**
Please note:
Our fabric sets are educational resources to help teach Orthodox Christian children. Please be mindful when using, washing or storing them, since they depict holy objects and images inspired by icons, which in real life are treated with reverence. The finished items are not suitable for children under three years old, and should be used with adult supervision.
DIY TUTORIAL
STEP 1
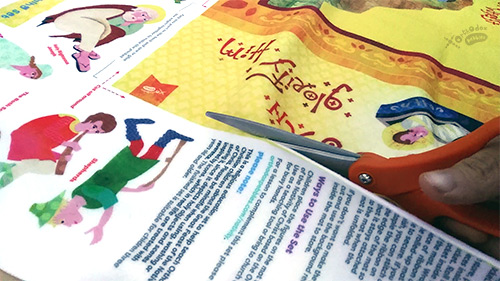
Cut out all the pieces following the instructions on the fabric.
STEP 2
Fold the pocket to the back of the mat.

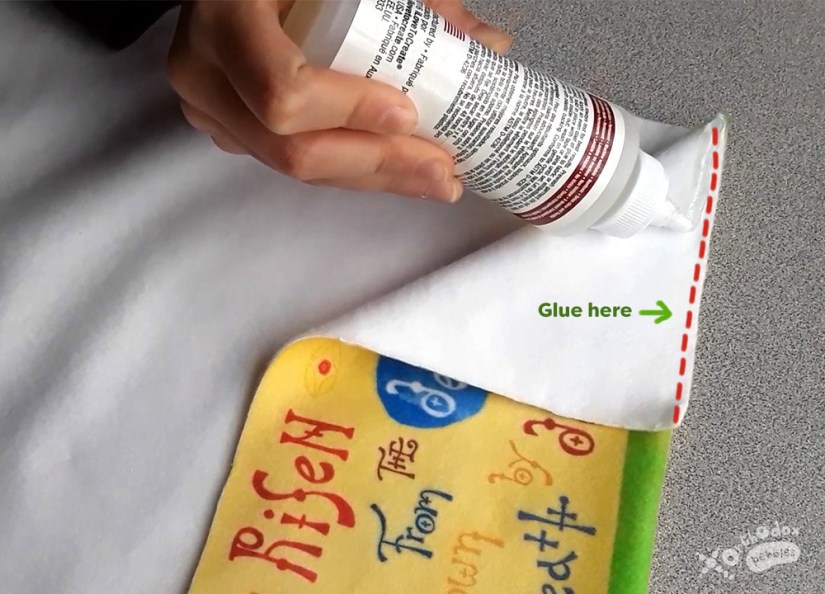
STEP 3
Spread glue on the edges of the inside of the pocket except the top. Fabric glue or tacky glue works.
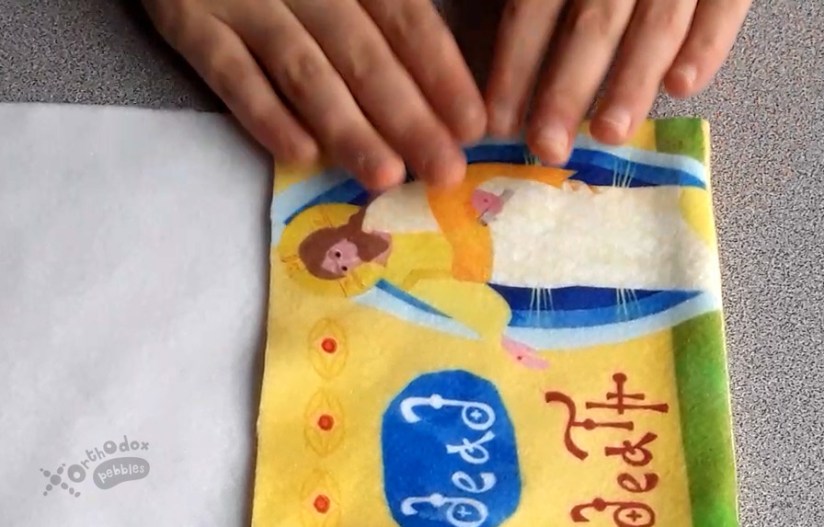
STEP 4
Glue the pocket on the back of the background mat.
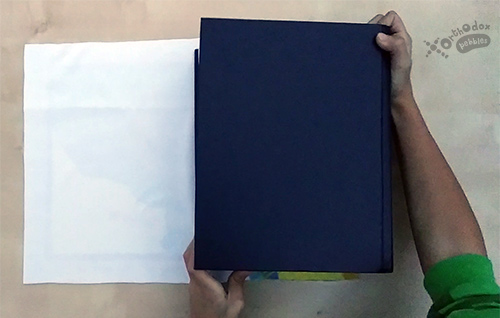
STEP 5
Place a heavy object over the glued pocket and let stand for 1-2 hours, or until the glue is completely dry.
TO STORE
To store the pieces, place them inside the pocket. Roll the pocket inside the rest of the mat. Secure with a ribbon, if you wish.
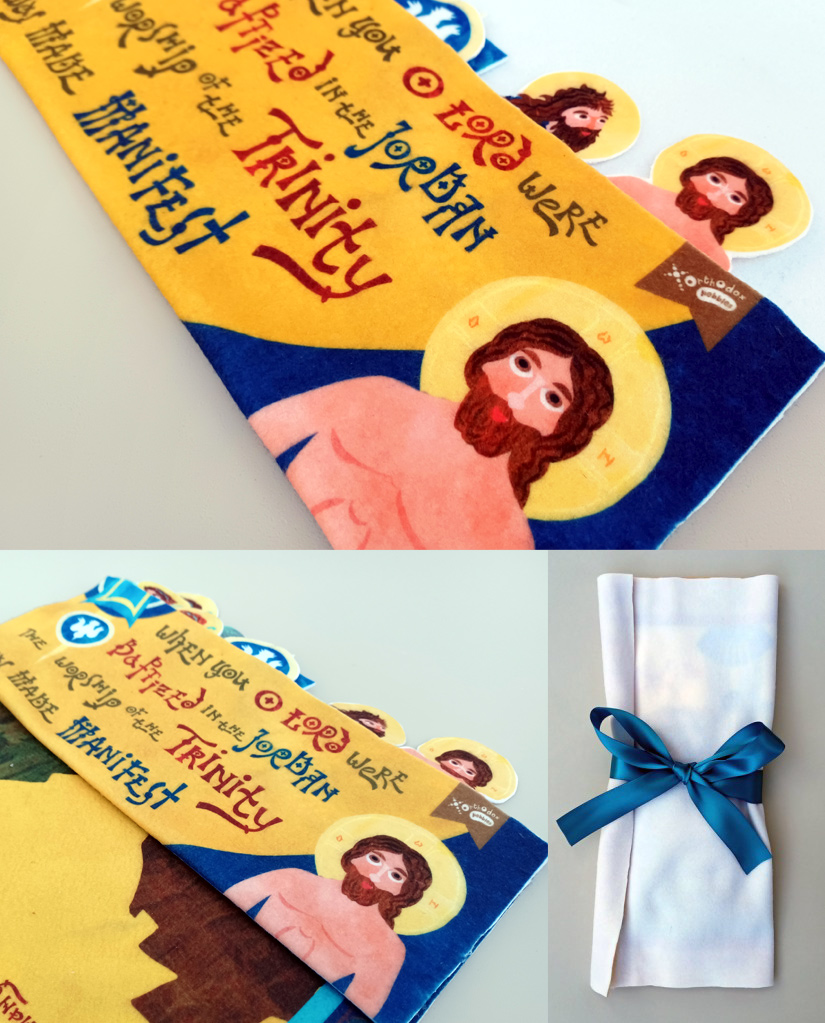
You can staple or sew the ribbon on the edge of the mat so it stays connected to the mat when it is opened.

NOTE: The photos above show the previously used fleece fabric. This is what the rolled up set currently looks like in felt.
