

THANK YOU for your interest in our Great Lent Craft Kit! We are very excited to be taking this Christ-centered creative journey together with you. Please scroll down for a tutorial on how to make this week’s craft and for additional teaching resources.
If you would like to download this crafting tutorial as a PDF file, please click on the button below.
HOW TO MAKE THIS WEEK’S CRAFT
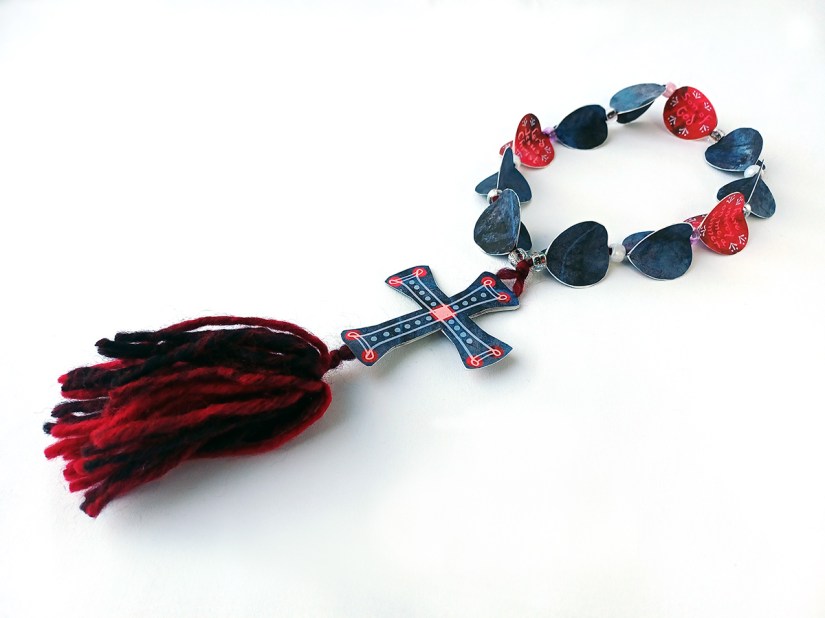
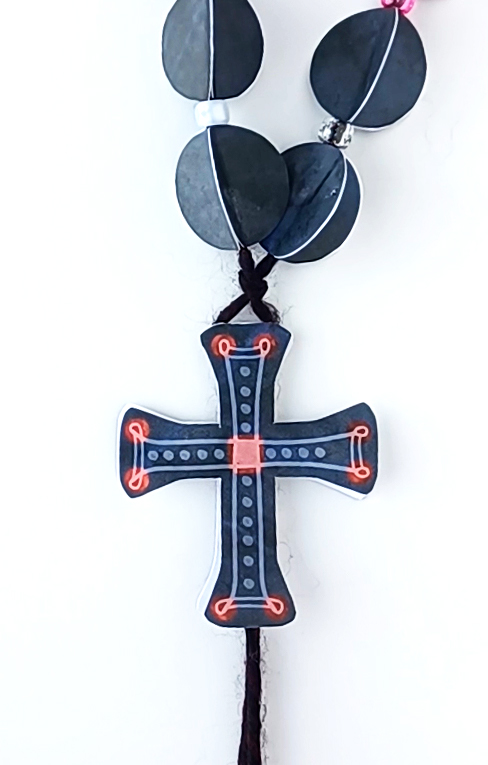
This craft is an Orthodox prayer rope model, made out of paper.
This craft may be a bit too complicated for younger children, so we are also suggesting simpler alternatives – please scroll down to the end of this tutorial. You are welcome to come up with your own ideas as well. If you do, kindly share them with us; we always enjoy seeing our creations being used, especially in ways we haven’t thought of ourselves!
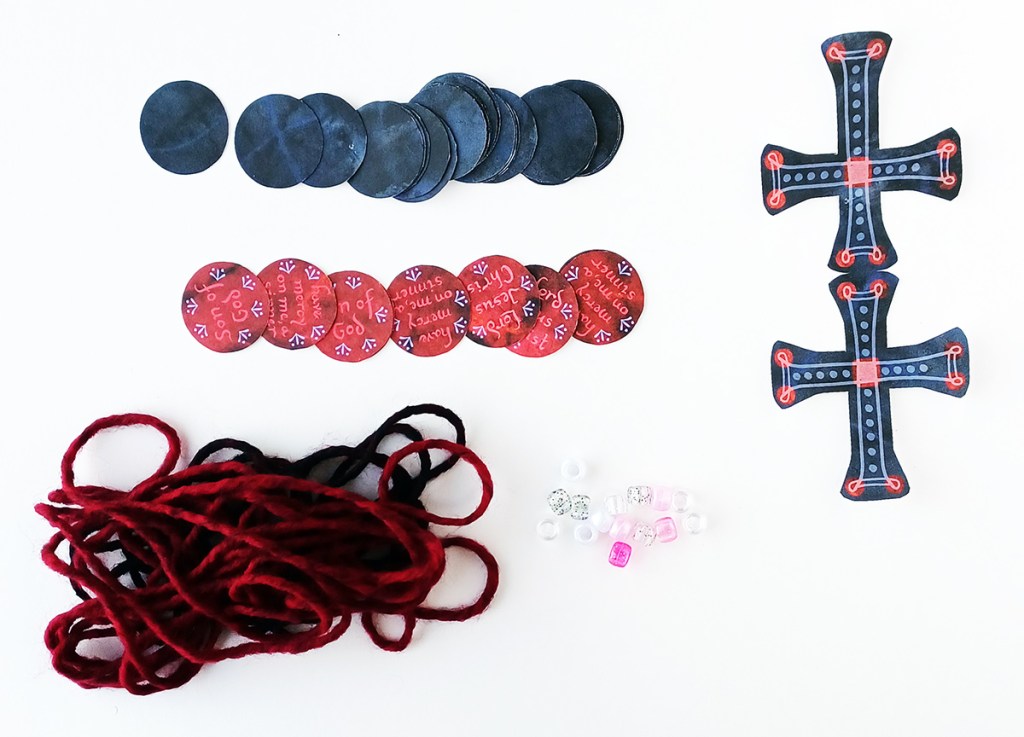
You will need:
- The relevant crafting templates, from our Great Lent Craft Kit.
- Scissors and glue. Double-sided tape can be very handy but is not required.
- A piece of knitting yarn or string, about one yard long.
- Pony beads are optional.
- The craft is designed to look pretty just as it is; however, if desired, it can be further embellished with additional materials of your choice, such as mini-jewels, mini-pompoms, sequins, etc.
Step 1
Cut out the template shapes.
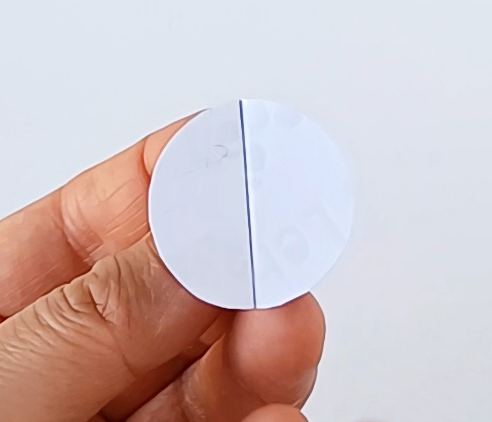
Step 2
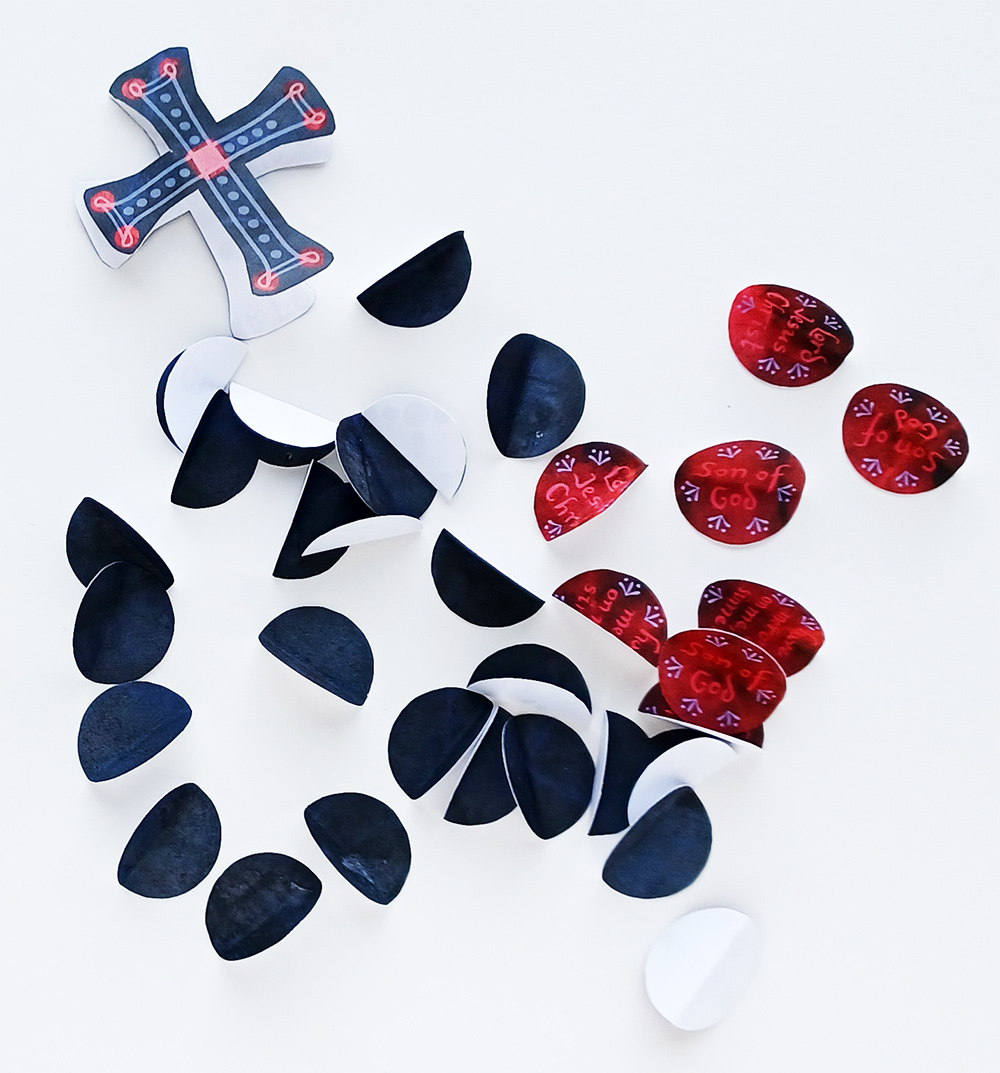
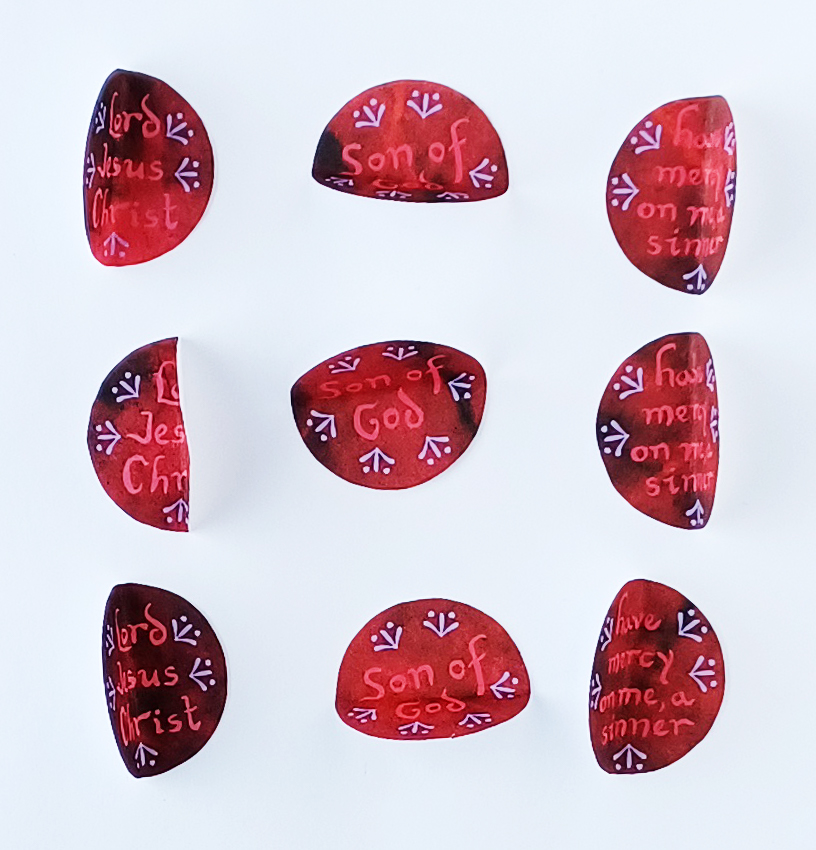
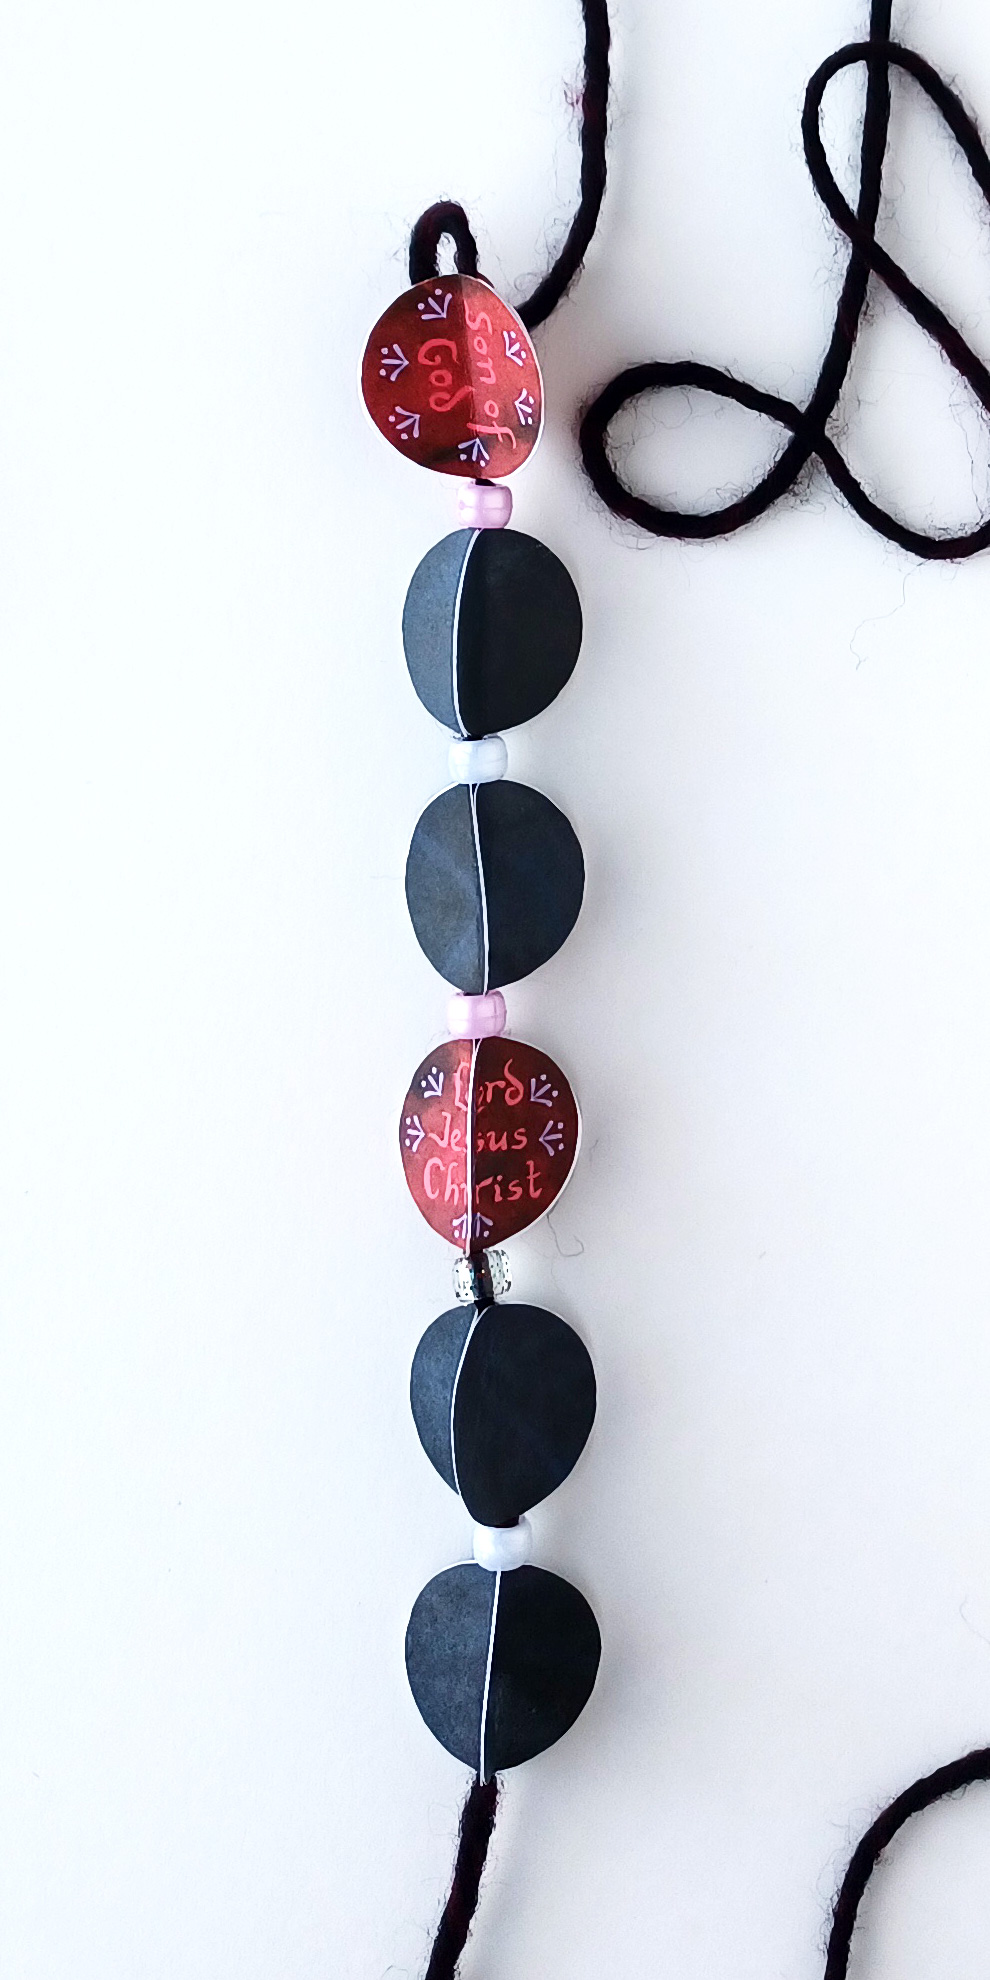
Fold all the pieces in half. Pay attention to the direction of the fold on the red circles: if they are folded as shown in the photo, they will be easier to read as a whole phrase when placed in the finished craft.
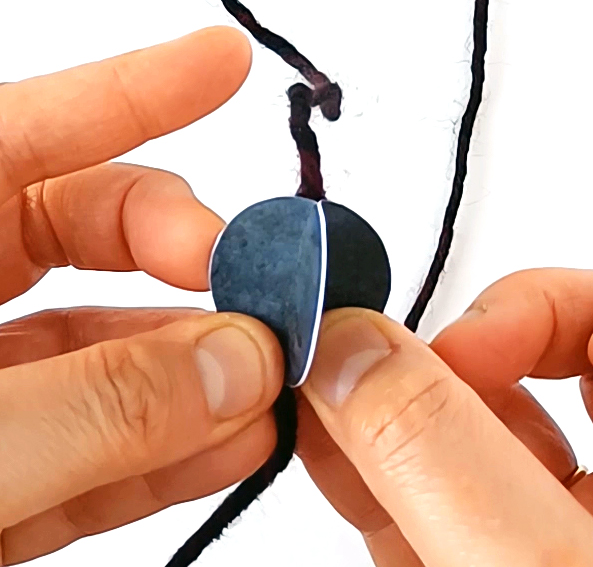
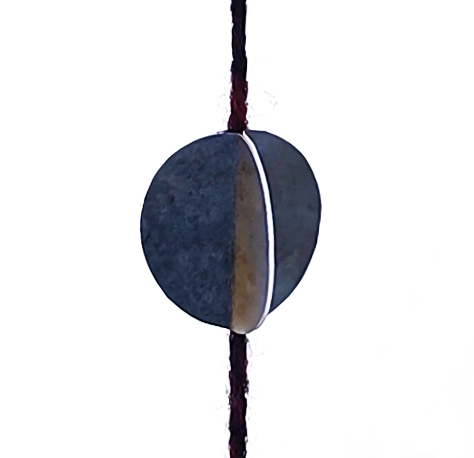
Step 3
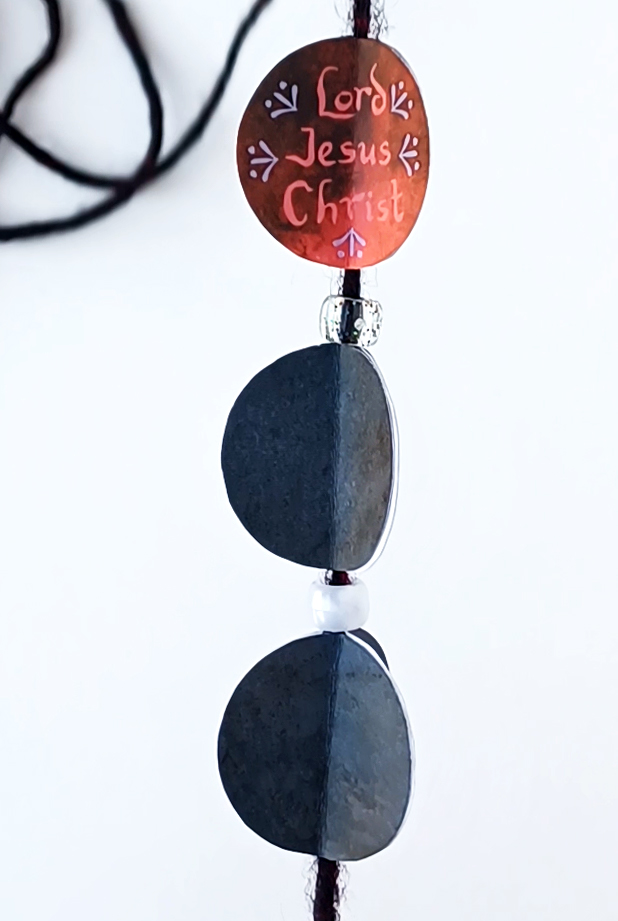
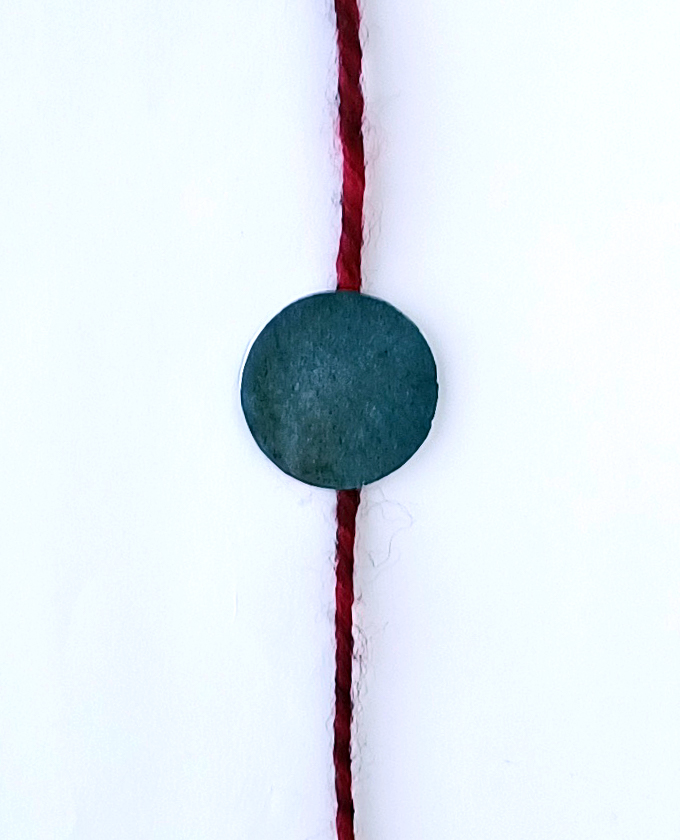
Make the first “knot” of the prayer rope – for each “knot”, you will need three circles. Glue two black circles together, only gluing them on one half side, and leaving the other half side unglued. Place a long piece of yarn between the two circles lengthwise, allowing some yarn to hang free on both sides. Glue a third circle onto the other two, sandwiching the yarn in the center.


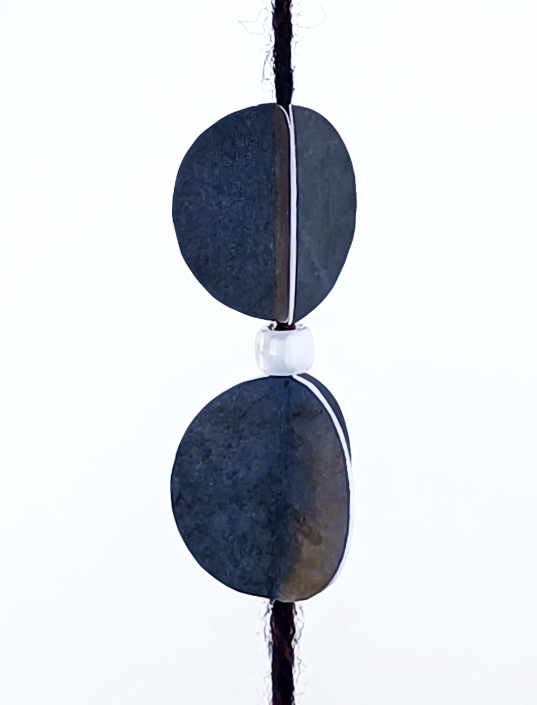
Step 4
If using pony beads, thread one or more beads onto the yarn. Make the second black “knot” in the same way as the first one.

Step 5
Continue making the rest of the “knots” in the same way, paying attention to the direction of the letters on the red circles, to make sure the phrase will be easy to read on the finished craft.
Step 6
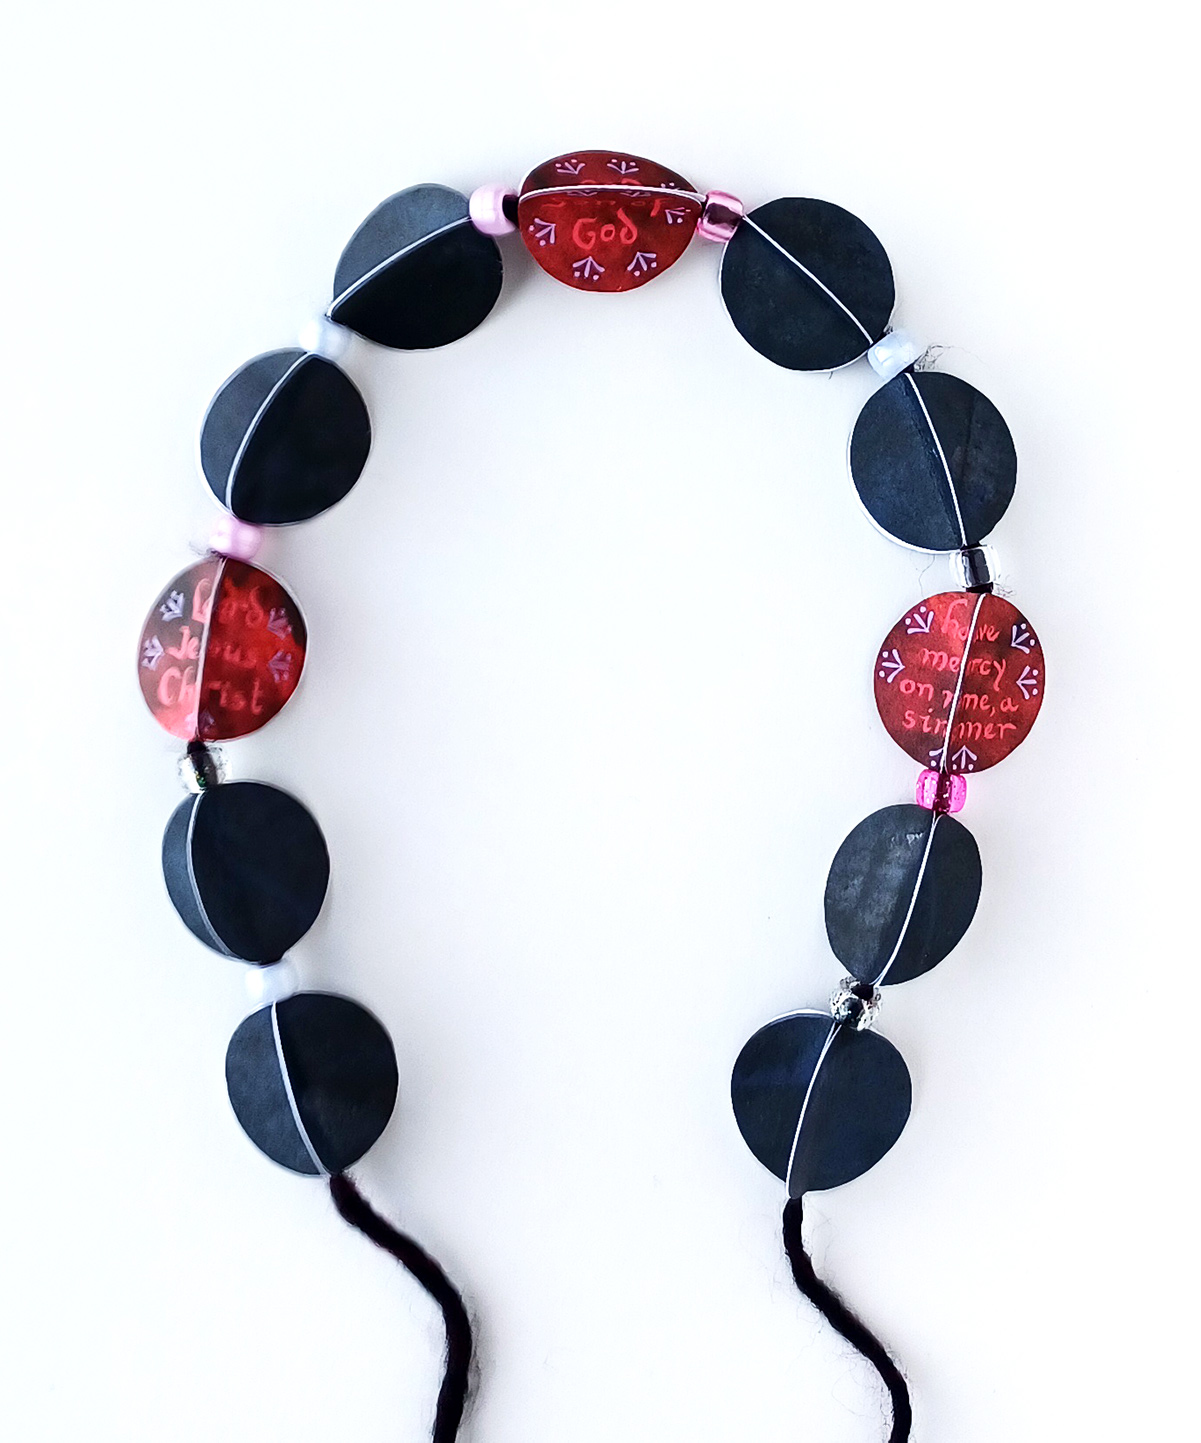
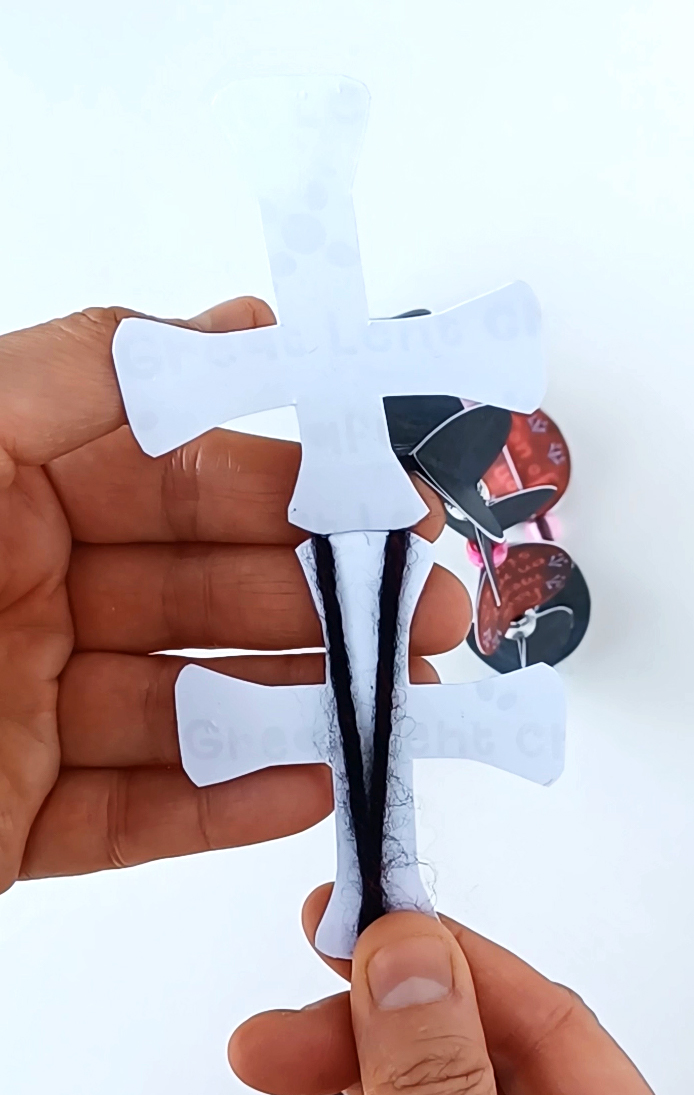
Tie the loose ends of the yarn into a knot to make a closed loop. At that point, you can thread one or more pony beads if you wish, and tie a knot again. Then attach the cross as follows: Unfold the cross, pass both threads of yarn through the unfolded cross from top to bottom, then fold the cross over the yarn and glue the two parts of the cross together, sandwiching the yarn between them. Tie another knot under the cross and thread one or more extra beads if you wish. Finish with one final knot.

Step 7
Make the tassel: Wrap a long piece of yarn several times around your fingers to make a thick loop. Use the free-hanging pieces of yarn from the prayer rope to attach the thick yarn loop under the cross as shown. Tie the free-hanging pieces of yarn into a secure knot. To finish the tassel, cut the thick loop of yarn at the bottom, and also cut off the free-hanging yarn threads.


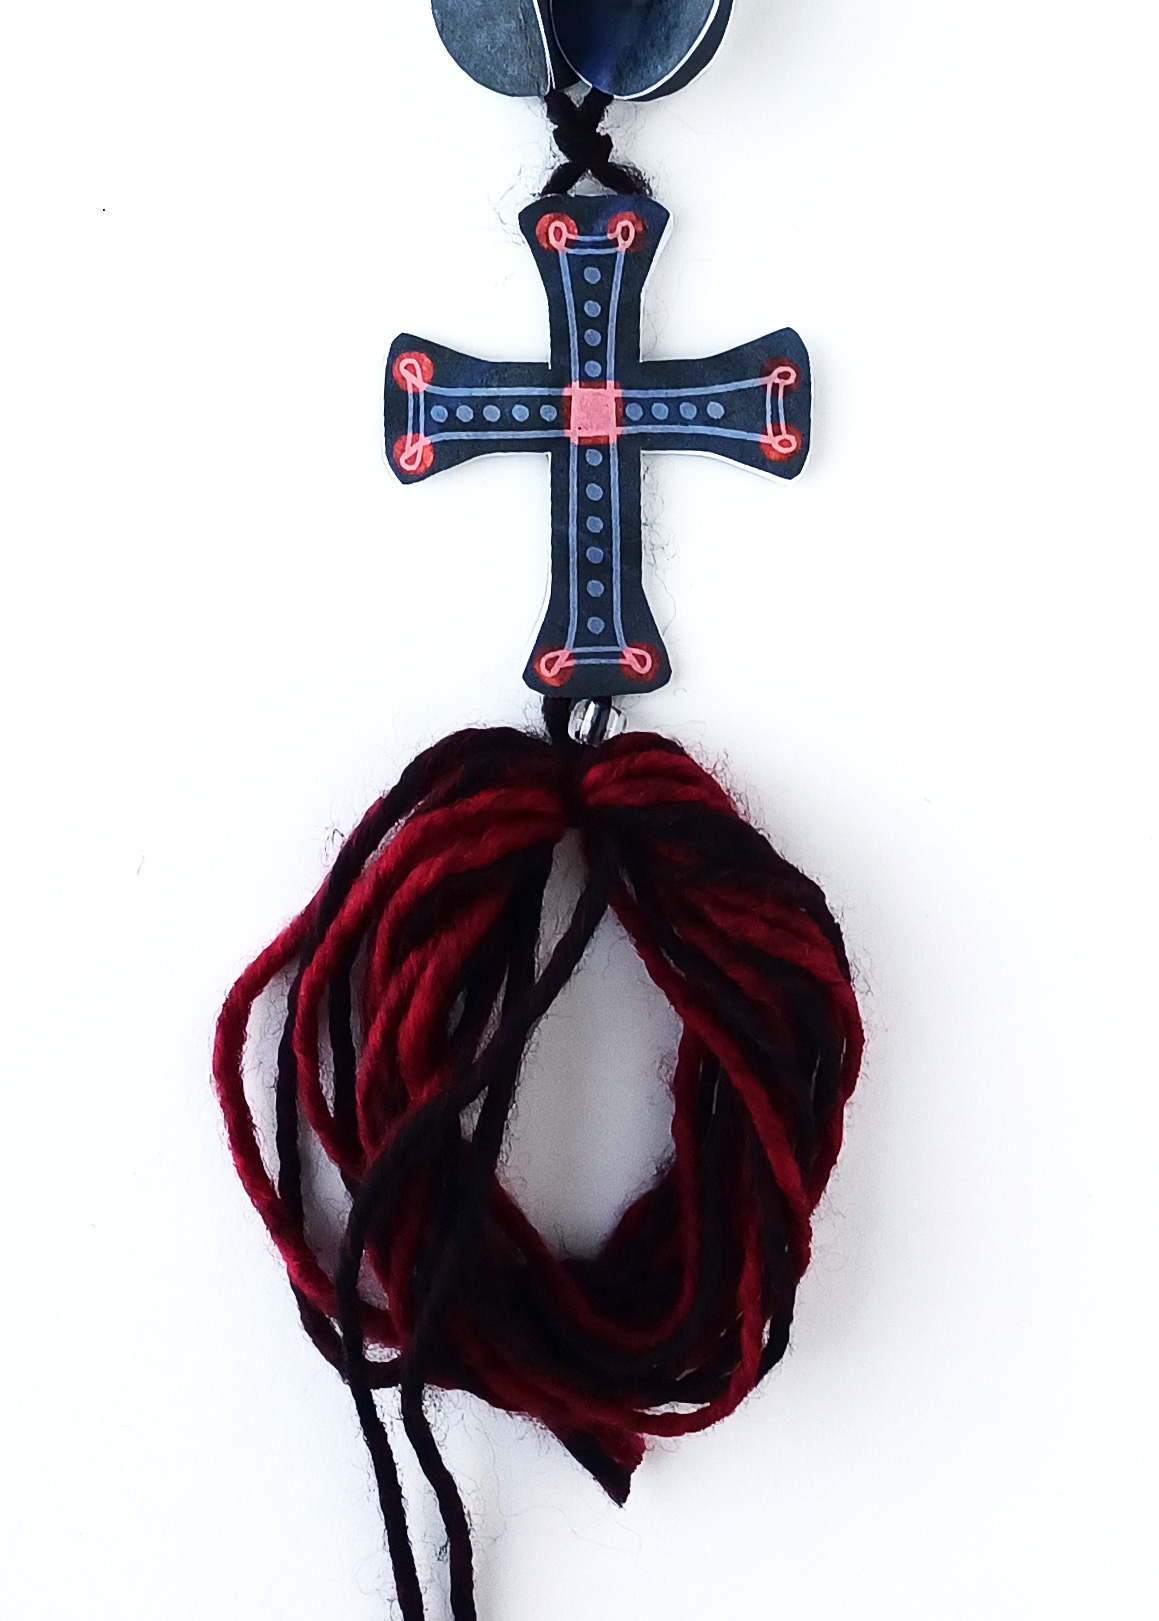

Ready!
The craft is designed to look pretty just as it is. However, if you wish, you can further embellish it by gluing additional materials of your choice onto the “knots” and the cross.
EASIER CRAFTING OPTIONS
For younger children, the craft can be made in simpler ways, using fewer paper circles.
Version 1
Instead of using three paper circles to make each “knot”, use two circles, sandwiching the yarn between them without first folding the circles. The resulting prayer rope will have less of a 3D feel, but it will still look pretty.
Version 2
For very young children, skip the yarn altogether and glue the circles onto a piece of paper, forming a loop that looks like a prayer rope. Glue only one part of the cross underneath the loop. Make the tassel separately, and glue or tape it at the bottom of the prayer rope.

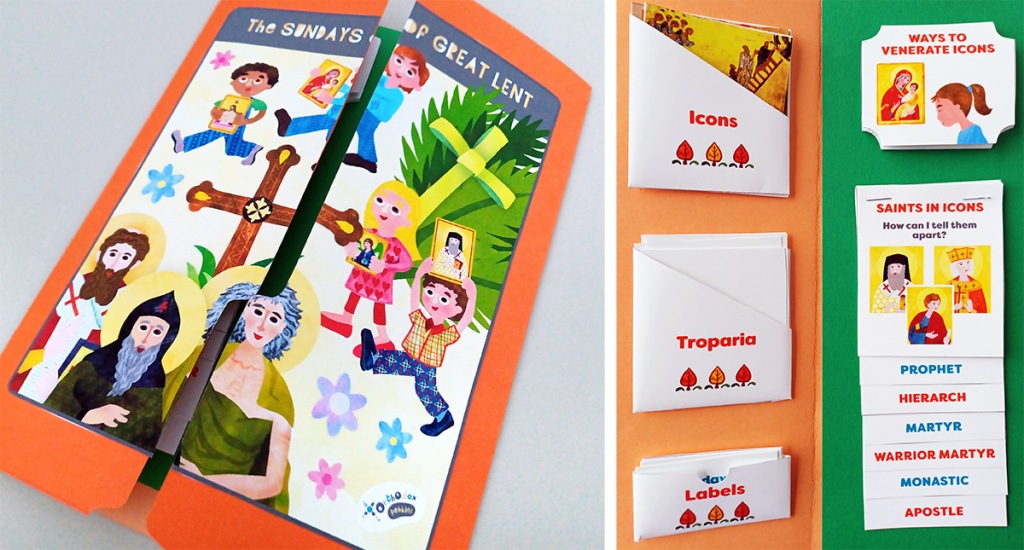
TEACHING RESOURCES FOR THIS SUNDAY

SUNDAYS OF GREAT LENT:
Teaching packet

LESSON PLAN:
Prayer and St. Gregory Palamas
Thank you for exploring our creations!
This tutorial is part of the GREAT LENT CRAFT KIT
by Orthodox Pebbles.

