


Click HERE to buy the DIY kit – a very simple project that can be done with no sewing. Scroll down for shopping details and instructions.
…
This is a product from our collaboration with St. Tabitha’s Workshop.
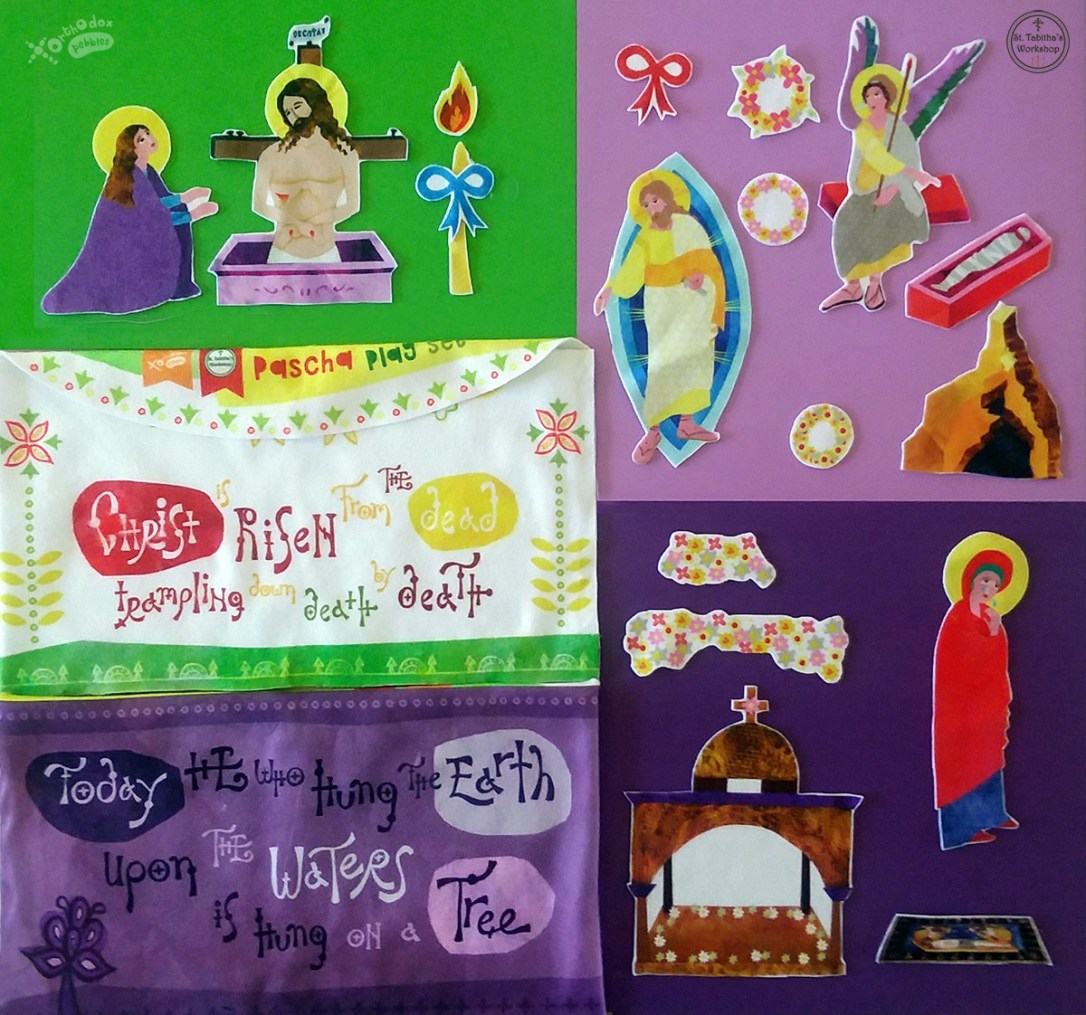
This product is an act-out learning set made out of soft fleece. It has been designed to cover the religious education needs of different ages and levels, so it can be used by younger and older children alike. It teaches Orthodox Pascha traditions and the main concepts and scenes of the Pascha story in an exciting, hands-on way. It consists of:
1. Twenty learning pieces.
2. A pouch to store the pieces in, which can also double as a background mat.
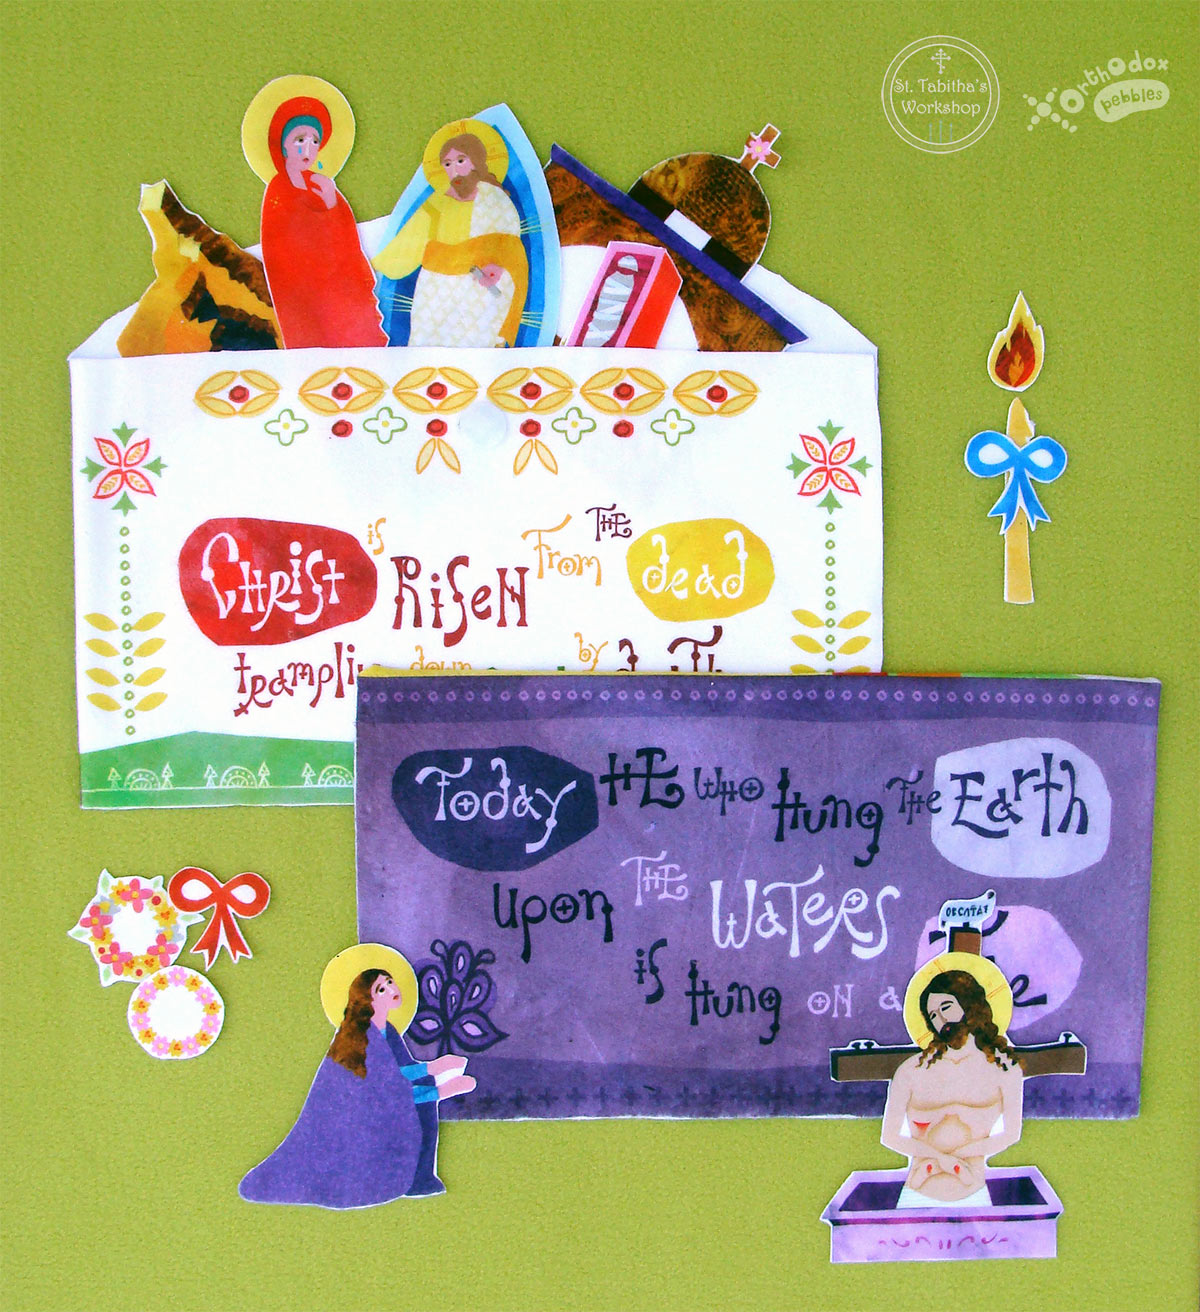
Using with this set the children will be exposed to the following Orthodox Pascha traditions, practices, and concepts:
TRADITIONS and PRACTICES
- Placing the Epitaphios inside the Sepulcher and decorating it with flowers.
- Offering flower wreaths to the Crucified Christ.
- Lighting the Pascha candle.
- Key phrases from Orthodox Pascha hymnology.
- Important Pascha icons: “Extreme Humility”, Epitaphios, “He is not here”, “Touch me not”.
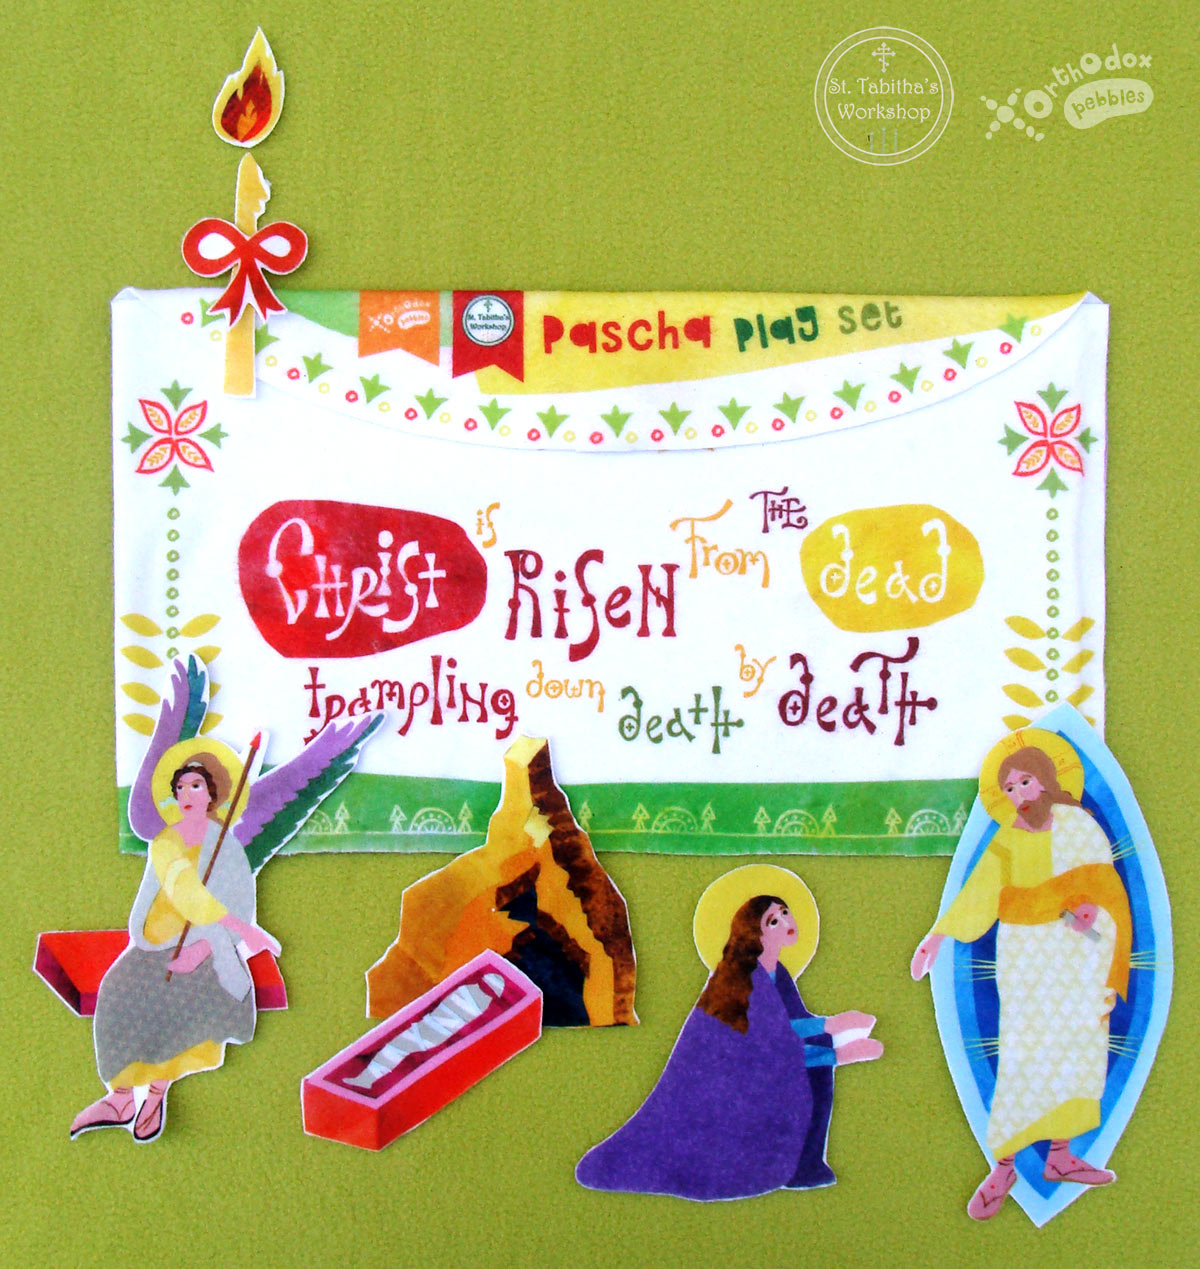
SCENES and CONCEPTS
- The Crucifixion and Burial.
- The Theotokos’ Lament.
- The angel showing the empty Tomb to the Myrrh Bearers.
- The Resurrected Christ appearing to St. Mary Magdalene.
- The Resurrected Christ usually shown in white/golden colors and surrounded by a mandorla.
- The Tomb in Orthodox iconography looking like a box – just like Christ’s manger in the icons of His Nativity.
For a lesson to complement this learning set, please visit our page Four Icons for Pascha.

Please note:
This is an educational resource to help teach Orthodox Christian children about Pascha. Please be mindful when using, washing or storing it, since it depicts holy objects and scenes inspired by icons, which in real life are treated with reverence. Not suitable for children under three years old.
MAKE-YOUR-OWN LEARNING SET
(See video on top of page for tutorial)
For a very easy DIY project, our fabric can be ordered from “St. Tabitha’s Workshop” SPOONFLOWER shop, to cut and make your own set. All the instructions are printed on the fabric and there is very little to no sewing required. The preparation mostly involves cutting the pieces, and the whole set can be assembled in about half an hour.
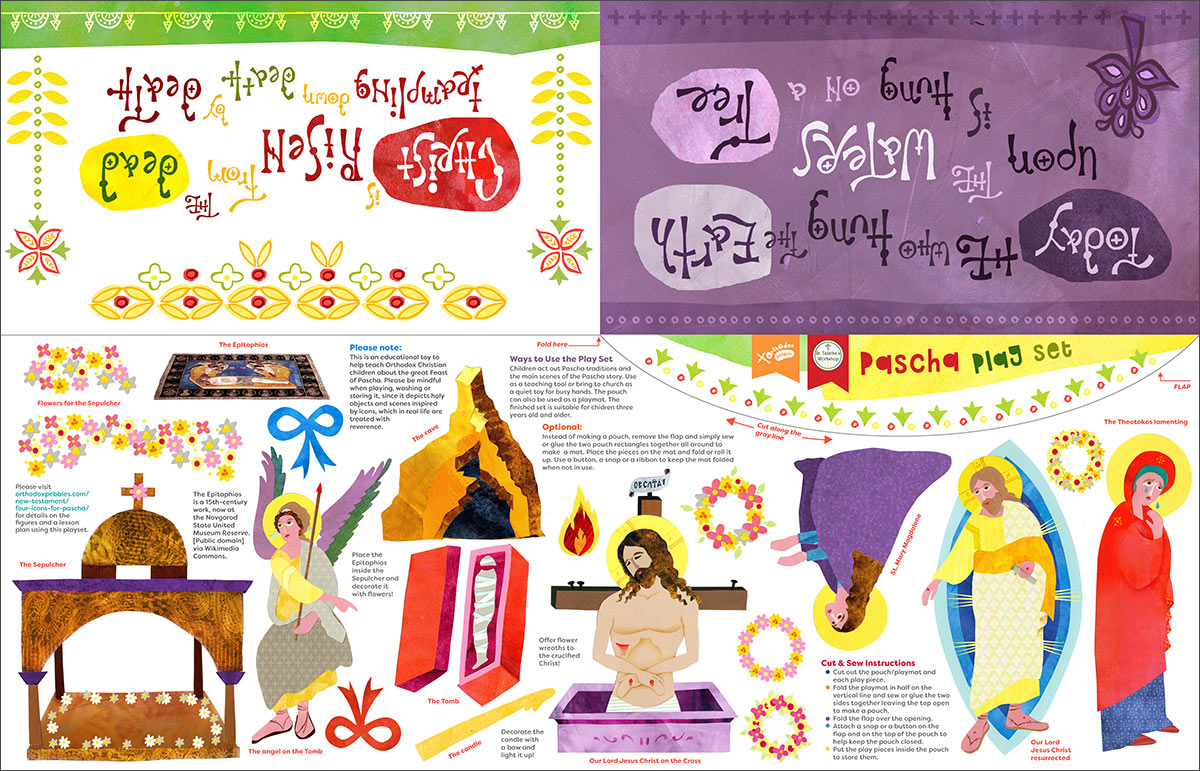
You can make the learning set either sewing it or not.
Below we will demonstrate a very quick and easy way that requires no sewing, and can be done together with the kids. After we cut out all the pieces, we used fabric glue to put the pouch together and an optional self-adhesive Velcro dot (hook and loop) to help keep the flap closed.
A simpler way, instead of making a pouch, would be to remove the flap and simply glue the two pouch rectangles together all around to make a double-sided mat. To store, place the pieces on the mat and fold or roll it up. Use a button, a snap or a ribbon to keep the mat folded when not in use.
Finally, the simplest way of all, with no gluing, would be to only cut the two pouch rectangles – purple and white – and use them as backgrounds. Roll the set up and place in a ziplock bag to store.
DIY TUTORIAL
STEP 1

For one complete learning set, order one “fat quarter” in fleece fabric – use the drop down menus to select fabric and fabric size.
For a large number of learning sets, change the amount to yard – each yard contains four sets. Indicate how many yards you wish to order – the display will change to show what will be printed.
We have designed this set for fleece fabric, as it is sturdy, doesn’t fray, it is soft and cuddly, it lays flat, and the pieces stick nicely to each other during play. Please make sure fleece is chosen – if you choose another type of fabric the design may not be printed properly.…
STEP 2
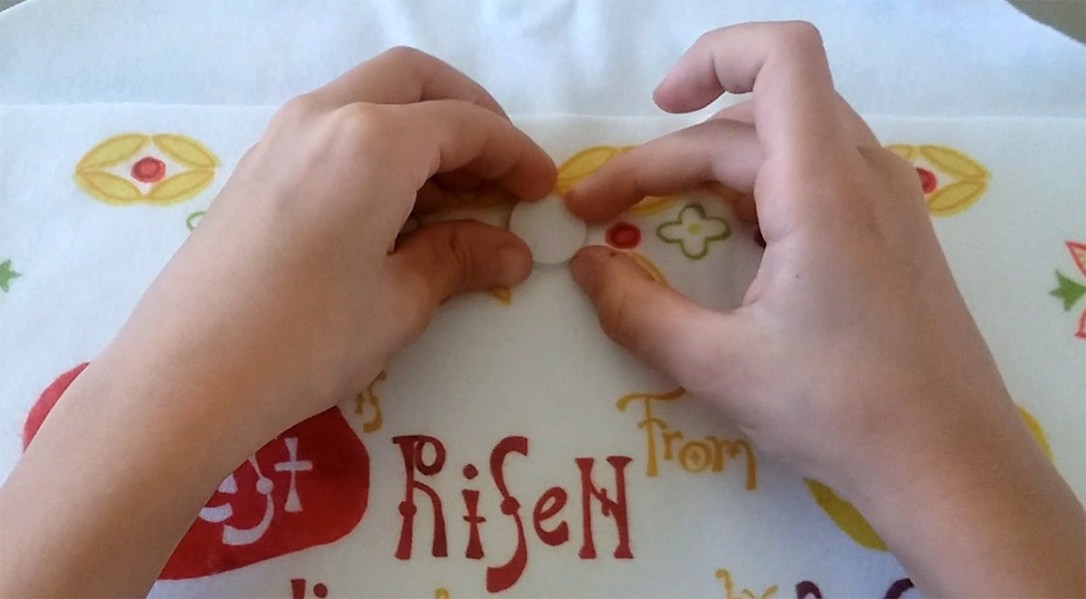
Cut out all the pieces following the instructions on the fabric.

STEP 3
Spread glue on all the edges of the inside of the pouch except the top.
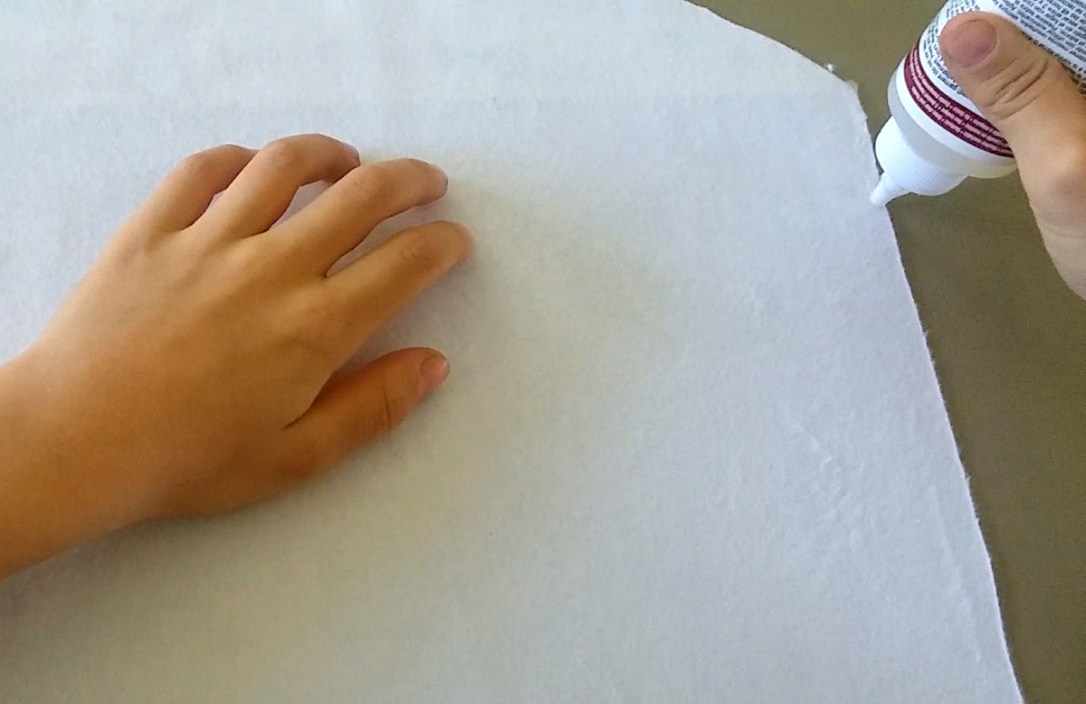
STEP 4
Fold the pouch rectangle in half. Press all around so the two sides will glue together.

STEP 5
Place a heavy book over the glued pouch and let stand for 1-2 hours.

STEP 6
If desired, stick a self-adhesive Velcro dot on the back of the flap and on the pouch, to help keep it closed when not in use. If you choose this option, make sure to help your child open the pouch when s/he wants to play as the Velcro dot might come off.
READY to LEARN!
ADDITIONAL ITEM – Optional
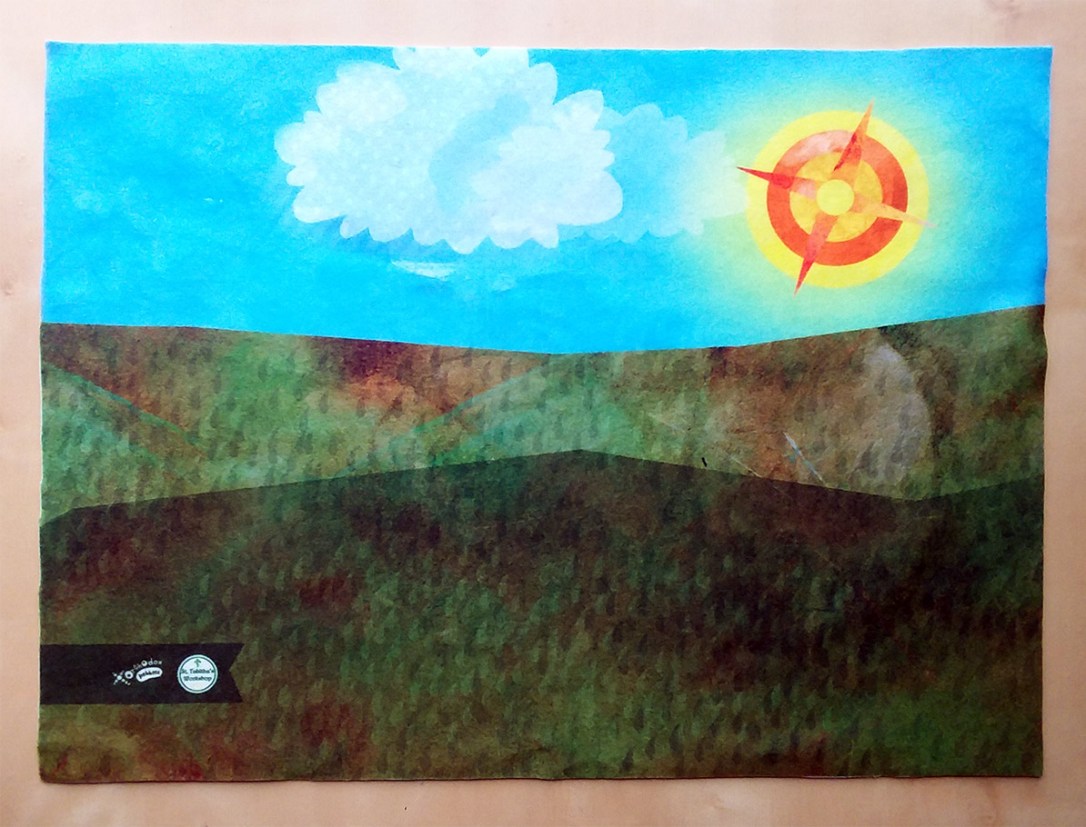
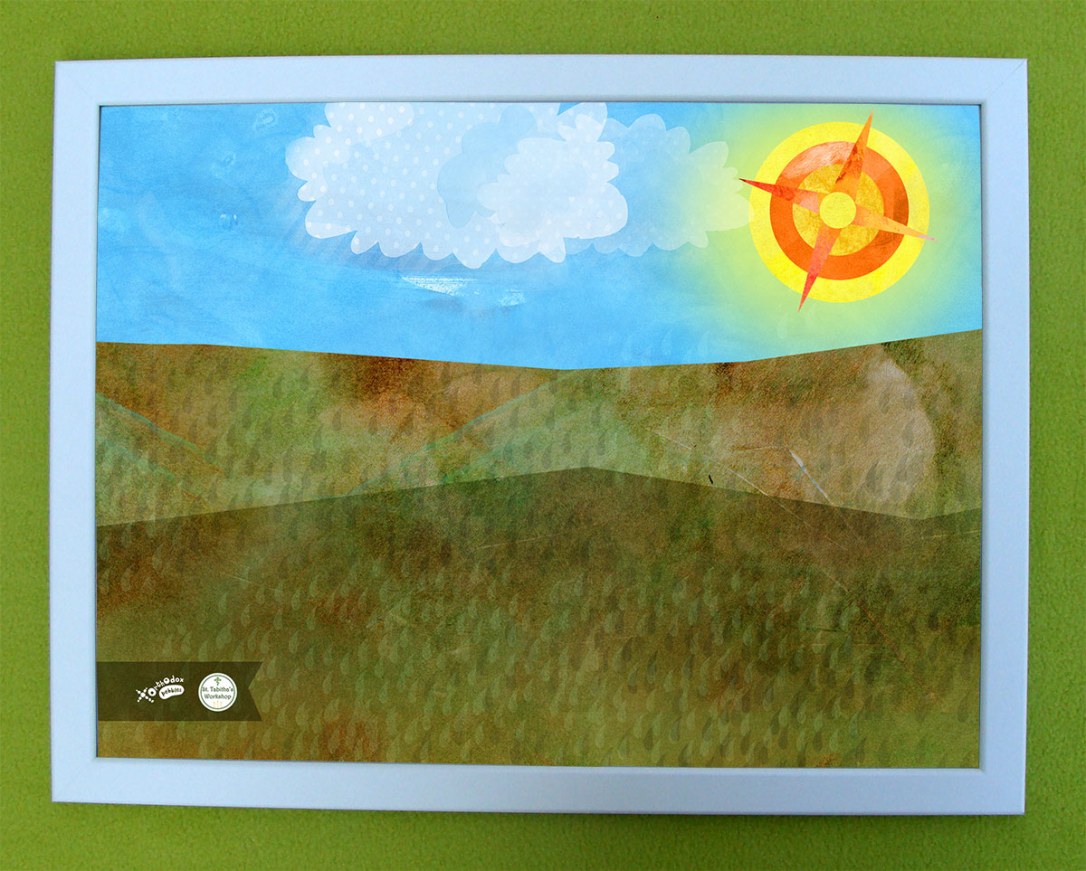
BACKDROP SCENE SET
If you wish, you can also purchase a background fabric that can very easily be turned into a felt board, offering a variety of backdrop scenes for our learning sets. Click HERE for more details.
Please note: Except from the fabric product itself, we do not receive any financial compensation for the external links that we mention in our posts. We are only including them to share our experience and to make it easier for the reader, if interested, to find the products we used.
